Must-use Kodi Settings for Kids and Teens to Keep Them Safe
When you use Kodi, you dive into a pool of nearly infinite content. Some of the add-ons you can install help you dig up old, obscure, and forgotten shows, while others bring the best new hits right to your screen. The open nature of Kodi can make it hard for parents to protect their kids and teens. If you spend some time choosing the right settings and picking the best add-ons, however, you’ll be able to create a wholesome environment for the whole family. Read on to see some of the best Kodi settings that keep kids and teens safe.

VPNs are Important for Online Safety
Keeping your data safe is getting harder every year. Mass surveillance programs are recording and analyzing our activity, ISPs log and sell information, and hackers wait just around the corner for us to make the wrong mistake. Carving out a secure space for kids and teens can be even more of a challenge, especially when Kodi is involved.
VPNs create a safe tunnel between your device and the internet. Everything that passes through gets encrypted so prying eyes can’t see what you’re doing. VPNs also help obscure your real location so traffic can’t be tracked to your identity. With these extras and dozens more, simply connecting through a VPN can make your Kodi experience both private and anonymous.
Keep Your Family Safe with IPVanish
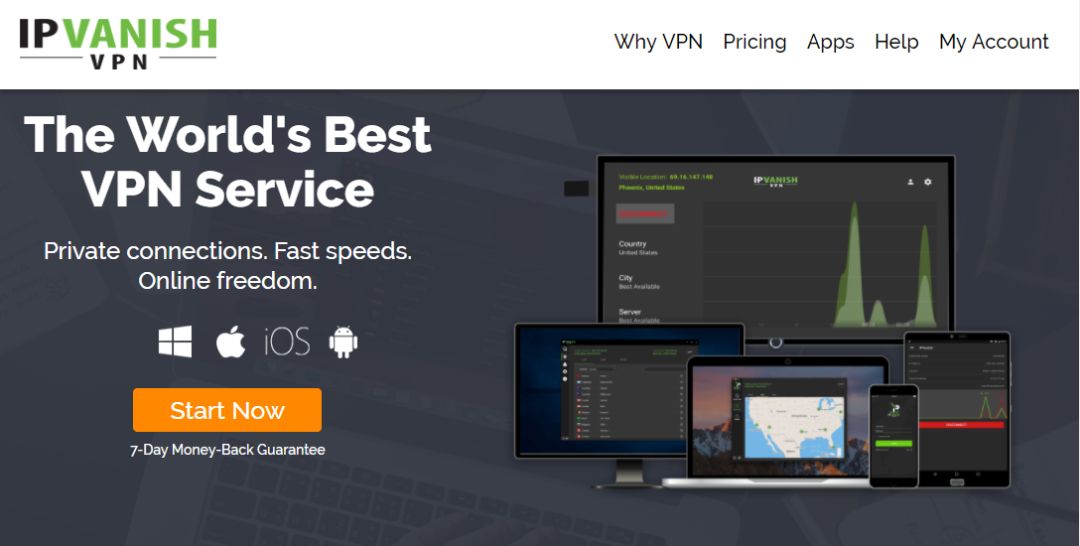
Using IPVanish is an extraordinarily seamless process. Smart, custom-built software works on a wide range of devices, even Android and iOS smartphones, and it’s so easy to use all you have to do is open it and click “connect”. The moment you go online IPVanish starts keeping you safe. It also offers an incredible network of over 850 servers in 61 different countries so you can always find the right virtual location for the job!
Data you send through IPVanish is locked down with 256-bit AES encryption, perfect for keeping third parties away from your private information. A zero-logging policy ensures none of this information sticks around for other people to get their hands on, either. Finally, IPVanish keeps everything sealed up tight with both DNS leak protection and an automatic kill switch, both features that monitor your connection and stop data breaches in case something goes wrong.
IPVanish offers a 7-day money back guarantee which means you have a week to test it risk-free. Please note that Addictive Tips readers can save a massive 60% here on the IPVanish annual plan, taking the monthly price down to only $4.87/mo.
Set Parental Control Settings
Kodi comes with a basic parental control feature called “master lock”. This somewhat hidden option allows you to control which parts of the Kodi software can be accessed freely and which parts will require a password. All you need to do is choose a strong lock code, select the items you want to restrict access to, and you’re done. It’s a fast and effective method that helps you keep your children and teens safe from the wild and crazy world of the internet.

How to turn on master lock parental controls:
- Open Kodi and go to the main menu.
- Click the gear icon in the top left menu.
- Click on “Interface Settings“
- Click the small gear at the bottom of the left menu until it says “Expert“
- Select the “Master lock” tab.
- Choose the top option, “Master lock code and settings“
- Click the top “Master lock” option. A new window will open.
- Select a password type. Numeric is one of the easiest to use but still difficult to crack.
- Type in a custom password, press “done“, then re-enter to verify the code.
- Go back to the master lock preferences tab and select the features you want to lock.
- Save the changes and head back to Kodi’s main menu. Now, whenever you try accessing an item you locked, Kodi will ask for a password before granting access.
You can do a lot more with the master lock feature, as well. For a complete guide on how to set up parental controls, how to extend their functionality, and how to recover lost passwords, check out our guide: How to Turn on Parental Controls for Kodi
Create Protected Profiles for Kids and Teens
The master lock feature is powerful and easy to use, but it can be a hassle if you want to watch your own content without having to type in your password. The best solution is to set up individual profiles for everyone in your home, then customize them to select which parts of Kodi they can access. This lets you create a unique profile for, say, your young children, log them in and turn them loose without having to worry about what they’ll stumble onto. And when it’s time for your shows, simply switch profiles and you’re set.

Before you can create parental control profiles you’ll need to switch on the master lock feature. Follow the guide above to get that feature ready, then go through the steps below to create each new profile.
How to use parental control profiles:
- Open Kodi and go to the main menu.
- Click the gear icon in the top left menu.
- Click on “Profile Settings“
- Click on “General“, then make sure “Show login screen on startup” is toggled on.
- Click on “Profiles” followed by “Add profile…“
- Choose a name for your additional profile, such as your child’s name.
- Click “ok” on the next menu.
- The edit profile window pops open. Here you can set a number of options, including profile picture and directory.
- Start by clicking “Lock preferences“. If master lock isn’t already on, you’ll be prompted to set it up now.
- Set the individual profile lock options. Whatever you check will be blocked on this profile. Choose as many as you like, then click “ok“.
- Go to the media info option and toggle the option to the right using the arrows. This determines what movies and music the new profile can use. Starting from scratch is the best choice, as it lets you build the profile’s content from scratch.
- Do the same for the media sources option, picking between sharing or separate data.
- Click “ok” and the edit profile window will close.
- You’ll be prompted with the choice between starting with new settings or copying the default. Click “start fresh” for a blank profile.
- The new profile will be set. Each time you start Kodi you’ll be prompted to choose a profile and log in. You’ll stick with your master profile; your kids will have the one guarded by parental control passwords only you will know.
- Repeat the steps above for each separate profile you want to make.
Install Kodi Add-ons for More Content Options
The majority of Kodi’s add-ons are packaged in repositories. These serve as huge file collections that make add-ons easier to find and easier to install. You can grab add-ons by themselves, but it’s easier and more convenient if you go through repositories. Not only does it give you more options in the future, but it also helps keep things up to date and protect you from harmful files. Kodi offers a few methods of installing repos. We generally stick with the “external sources” method since it’s easier to use on mobile devices and keeps things nice and tidy.

Before you can install repos and add-ons, you’ll need to switch one of Kodi’s configuration settings. Follow the steps below and you’ll be set:
- Open Kodi and choose the gear icon to enter the System menu.
- Go to System Settings > Add-ons
- Toggle the slider next to the “Unknown sources” option.
- Accept the warning message that pops up.
Now you’re ready to go! Simply find a repository URL, enter it as a source, let Kodi download the file for you, then install as many add-ons as you like. Our guides below will walk you through everything step by step so you won’t get lost.
Note: It’s possible for some of Kodi’s unofficial add-ons to link to pirated sources. AddictiveTips does not condone or encourage any violation of copyright restrictions. Please consider the law, victims, and risks of piracy before accessing copyrighted material without permission.
BoB Unleashed – Movies, Shows, and More

BoB Unleashed is a full-featured add-on that has practically all you could want from a media resource. Parents can check out new movie releases, TV series, and other fun content, and for the kids there’s plenty of cartoons and shows to stream.
BoB Unleashed orders its family friendly stuff by collection, then show. For example, if you want Beavis & Butthead or Dungeons & Dragons for the teens, check out Retro Toons. If Disney and Finding Nemo are more your style, go for Caira’s Kids or Tiny Tikes. No matter which section you choose you’ll find a ton of content to keep the kids happy and entertained.
Since BoB Unleashed contains both adult and children’s shows, it’s best to use master lock to restrict the entire add-on. You can select and play content your kids want to watch and they won’t be able to wander into another category.
How to install BoB Unleashed:
- Begin on your Kodi home screen
- Click on the settings icon, then go to File Manager
- Click on Add source
- Click on the box where it says <None>
- Enter in this URL: https://kdil.co/repo/ Make sure to type it exactly as written, including the https://, or it won’t work
- Give the source a name. We’ll call it kodil
- Click OK
- Go back to your home screen
- Click on Add-ons
- Click on the icon that looks like an open box
- Click on Install from zip file
- Click on kodil, then kodil.zip
- Wait for a moment and you’ll see a notification once the source has been installed
- Return to the add-ons menu, then once again hit the open box.
- Click Install from repository
- Click .www.Kodisrael.co.il Repository, then Video add-ons
- Find B0B Unleashed, then select Install
- Wait a moment for the confirmation that your add-0n has been installed.
PBS Kids – Educational and Entertaining

Many kids hate the idea of educational cartoons, but PBS has consistently found a way to produce enriching content that is fun to watch. The PBS Kids add-on allows you to watch popular titles like Arthur, Sesame Street, The Cat in the Hat, and Thomas & Friends. While this content is indeed geared towards younger audiences, adults can find a lot to like in this wholesome selection.
How to install PBS Kids:
- Go to Kodi’s main menu and select “Add-ons“
- Click the open box icon at the top of the menu bar.
- Choose “Install from repository“
- Find “Kodi Add-on Repository“
- Scroll down to “Video add-ons“
- Choose PBS Kids.
- Click the install button on the lower right.
- When the download completes, access the add-on from your main add-ons menu.
Is it Safe to Install Kodi Add-ons?
The Kodi ecosystem is massive, with thousands of creators pumping out new add-ons and new setups each week. This can be overwhelming for anyone new to Kodi, and possibly even a little scary. The good news is that it’s rare to encounter anything dangerous when installing add-ons. There are a few precautions you can take just to be on the safe side, however.
First, always have anti-virus software active when downloading repositories and add-ons. Firewalls are also a good measure, and if you’re activating a stream, make sure your VPN is online and connected. You should also stick to reliable repositories as often as possible to take advantage of their quality filters. And finally, we check every add-on before featuring it in our articles, just to make sure they work and are safe to use.
Reader Tricks to Set up Kodi for Kids and Teens
If you spend a lot of time watching movies on Kodi with your family, you’ve probably picked up a few tricks along the way. In addition to parental lock and add-on control, which settings or extensions do you favor? If you’ve got any tricks, let everyone know in the comments below!
Don't miss this great deal
