How To Watch Movies On Kodi, Full Tutorial to Get You Going
With the Kodi software, you can easily organise all of your media files like movies, TV show episodes, music videos, and other videos, plus your music collection, all through this one system. Kodi then automatically find information about all your files (like their date of release, starring actors, episode summaries, or cover art) and displays all of this information in an attractive format.
A big advantage of Kodi is that it is easy to control using a remote or using an app on your phone. This means that you can run Kodi on your television and then easily select a new movie or change the volume without having to get up from the sofa. It’s perfect for a day of lazy movie watching!
As well as organising the files you already own, you can also install add-ons for Kodi which let you stream movies over the internet for free. Below we’ll show you how to watch movies on Kodi, including both organising your current movie library and streaming from other sources.
It’s Vital To Get A VPN When Using Kodi Add-Ons
Just before we get on to information about watching movies in Kodi, we should address an important issue of security. Although the Kodi software itself is fully legal, some of the add-ons for it are developed by third parties and are not officially endorsed by the Kodi team. Some of these add-ons can be used to stream copyrighted content likes films for free, which is generally illegal. If you are caught using these add-ons, you could be liable for a fine, and it’s easy for your ISP to check your internet usage and to see if you’ve been streaming or downloading.
For this reason, it’s vital that you get a VPN if you’re going to use Kodi add-ons. A VPN is a piece of software which you install onto your Kodi device and which encrypts all of the data that this device sends over the internet. This encryption means that it’s impossible for anyone like your ISP or law enforcement to see what sites you are visiting or whether or not you’re streaming content. This is the best way to keep yourself safe when using streaming add-ons for Kodi if you want to avoid legal troubles.
IPVanish – Our Top Recommended VPN For For
For Kodi users, the VPN that we recommend is IPVanish. This service has all the features we look for in a VPN, like fast connections, a large server network, and strong security protocols. The server network of more than 850 servers gives you plenty of flexibility, and the connections are lightning fast and are perfect for streaming high definition video content like movies. The strong 256-bit encryption and no logging policy will keep you safe, and the software is well designed and easy to use.
IPVanish offers a 7-day money back guarantee which means you have a week to test it risk-free. Please note that Addictive Tips readers can save a massive 60% here on the IPVanish annual plan, taking the monthly price down to only $4.87/mo.
How To Watch Movies From Your Digital Collection
Many users have a folder full of movies in electronic file format which they have accumulated over the years. But often, these files are poorly labelled and the information about them is incomplete. Wouldn’t it be great if you could add all of these files to a program which automatically downloaded information about each movie like its title, release date, poster, starring actors, and critical rating, and then sorted and organised the files into an attractive library for you to browse? Well, that’s just what Kodi does. The instructions below will show you how to add files to your Kodi library from different sources like your hard drive, your NAS, and your cloud storage. Once the files are in your library their data will be saved and you can browse or search them and play them within Kodi.
How To Add Local Video Files To Your Kodi Library
- Begin on you Kodi home screen
- Click the settings icon (the one that looks like a cog and is located in the top left under the Kodi logo)
- Now go to Media settings
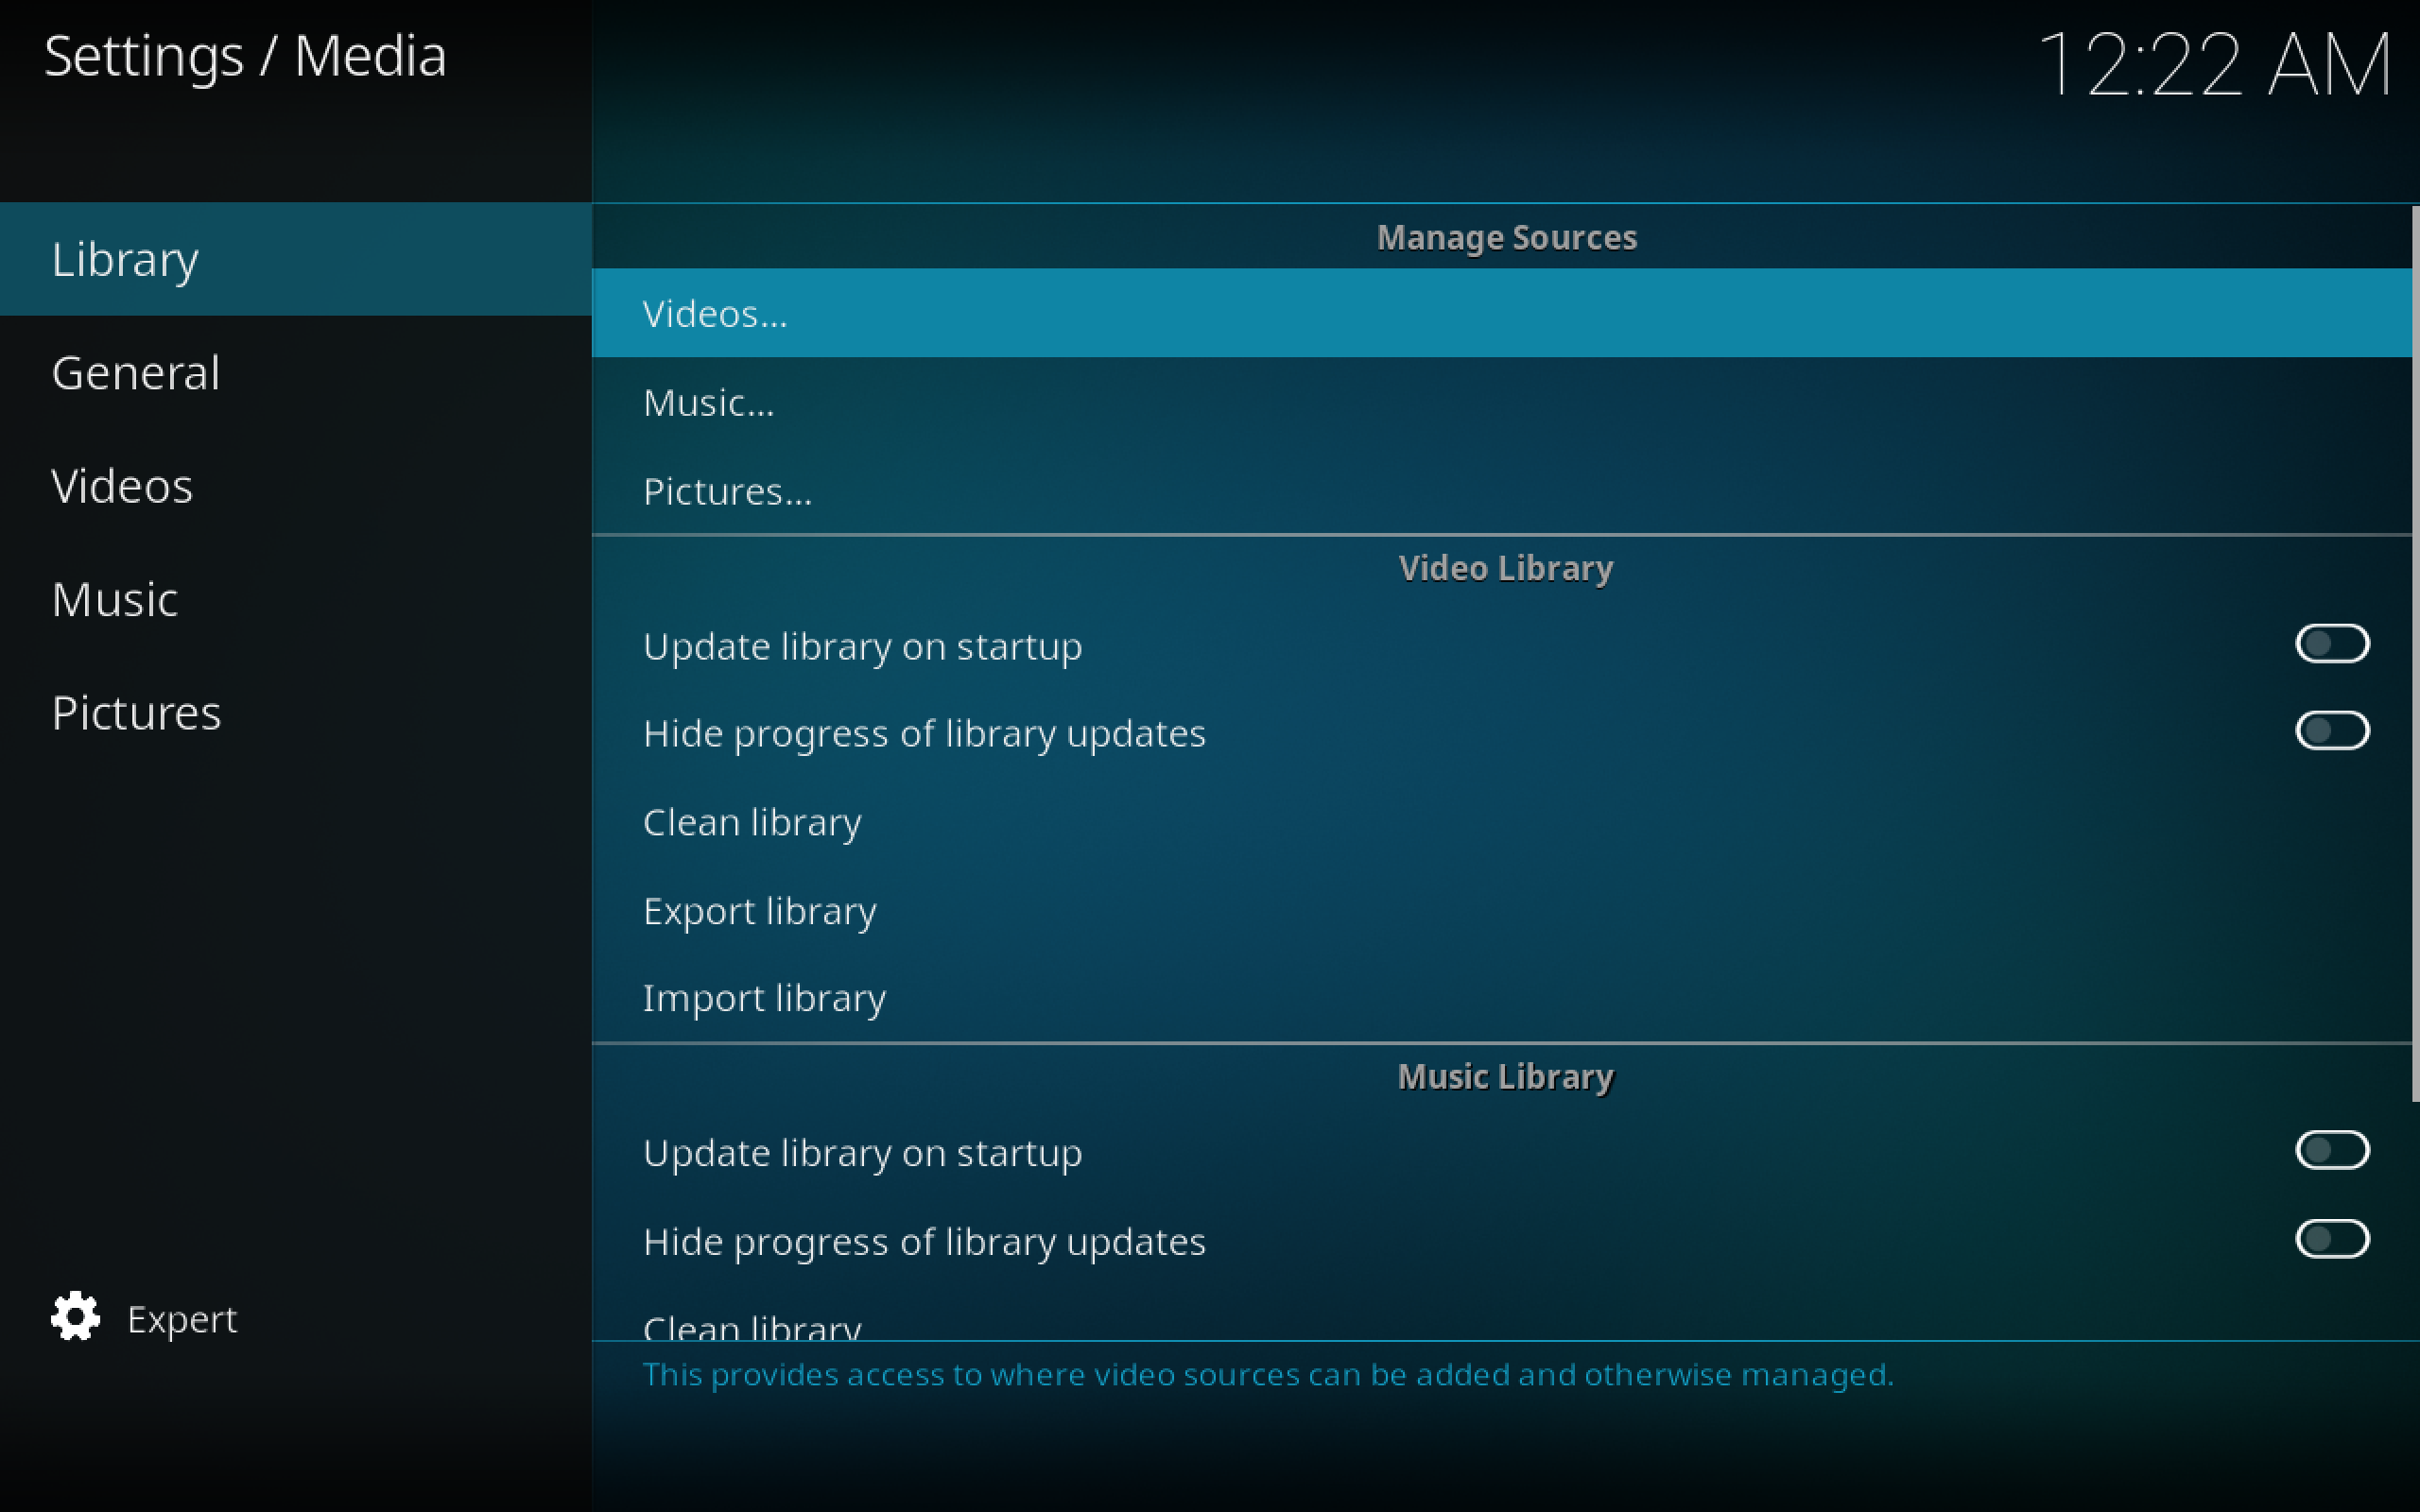
- Select Library from the menu on the left and look at the Manage Sources section on the right
- Click on Videos… under the Manage Sources section
![Manage Video Sources Kodi]()
- Now go to Add videos…
- You’ll see a popup that says Add video source
- Click on where it says Browse
- Now you can select the folder from your hard drive or networked drive. Navigate to the folder you want to add and click on OK
- You can give the source a name. It’s a good idea to label it clearly so that you can find it later. Remember, calling it ‘movies’ is unhelpful, but calling it something like ‘movies on PC harddrive’ is much more clear
- Now click OK
- You’ll see another screen labelled Set content. Make sure the This directory contains setting is set to Movies, then click OK
- Now the folder will be added to your library next time Kodi starts up. Alternatively, if you want to update your library now so you can watch straight away, make sure to select Yes when you’re asked if you want to refresh information for all items within this path
How To Add Files From A NAS To Your Kodi Library
- At first, you follow the same steps as above: Begin on you Kodi home screen
- Click the settings icon (the one that looks like a cog and is located in the top left under the Kodi logo)
- Now go to Media settings
- Select Library from the menu on the left and look at the Manage Sources section on the right
- Click on Video... under the Manage Sources section
- Now go to Add videos…
- You’ll see a popup that says Add video source
- Click on where it says Browse
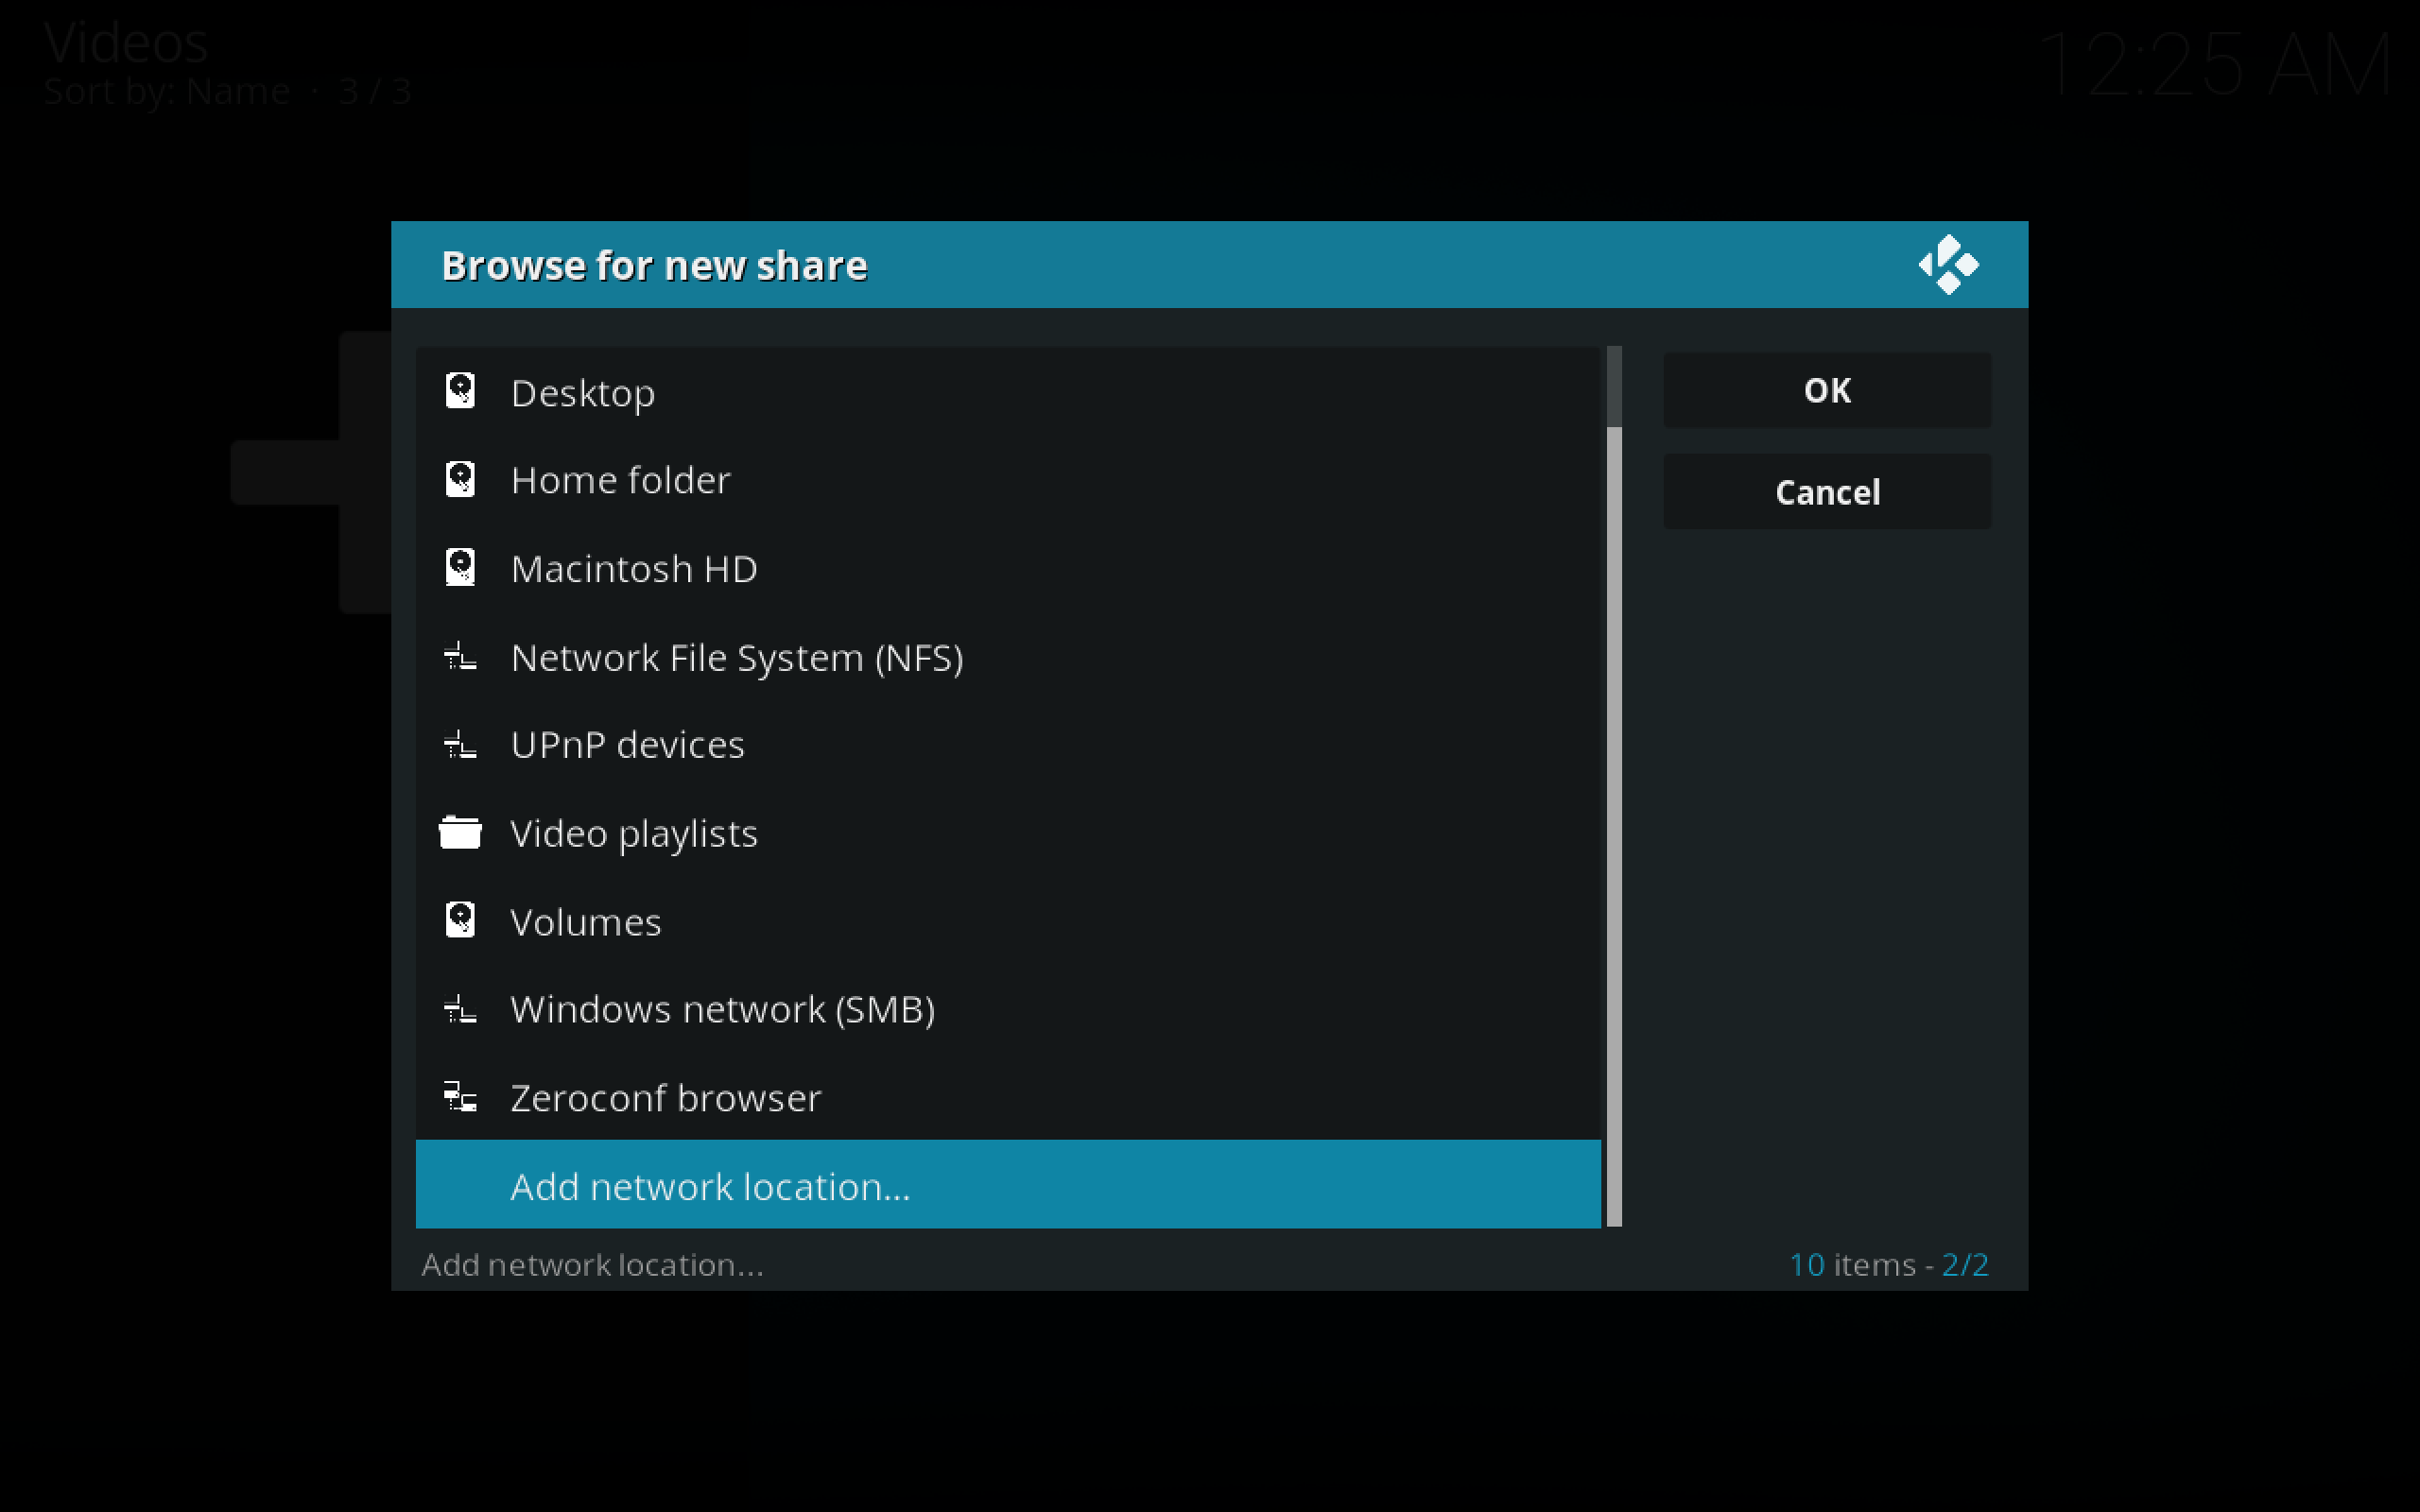
- Now you do something different. Instead of choosing a folder, now choose Add network location…
![Add Network Location Kodi]()
- Use the Add network location screen to enter in information about your NAS like the protocol used, the username and password, the particular folder you’d like to select, and the name you’d like to give the server
- Click OK once you’re done and the source will be added to your library as before
How To Watch Movies From Your Kodi Library
Now that you’ve added all of your files to your library, you can start watching your movies. The nice thing about Kodi is that it’s designed to be used from a distance as well as up close, and it can be controlled by a game pad, app, or remote as well as with keyboard and mouse. This means that it’s perfect for watching movies on your TV while you sit on your couch in comfort.
- Start off on the Kodi home screen
- Now go to Movies
- You’ll see a list of your movies, with the title and year of each movie in the middle, a synopsis of the movie on the left, and the poster of the movie on the right. If you want to change how your movies are displayed, just press the left arrow and change the Viewtype from List to another of the options. The Poster and Wall options are particularly nice
- Just click on the title or poster of any movie and it will start playing in Kodi
- If you can’t see you movie in the library, there are two things to do:
- Try restarting Kodi which will force the library to update. Then all of the videos in your added folders should appear in your movies library
- Make sure that your folders have the This directory contains setting set to Movies. Check this by going to Files, then right clicking the name of your movies folder and selecting Edit source. Click OK to confirm the location and then you can change the This directory contains setting
How To Watch Movies From Your Cloud Storage
This one is just a little bit trickier. The easiest and most reliable way to access your cloud content is to install an add-on which is specifically designed for accessing cloud content on Kodi. There is an official add-on for Dropbox and and unofficial add-on for Google Drive which make playing content off your cloud storage a snap if you use either of these two services. You just need to install the add-ons to your Kodi system, then when you want to watch movies from your cloud storage you go to Add-ons, then Program add-ons, then to Dmbc for Dropbox or GDrive for Kodi to open up your cloud storage in your Kodi system. Now navigate to your movies folder and click the title of any movie to play it in Kodi.
How To Watch Movies Using Add-Ons
Alternatively, what if you want to watch a movie that you don’t already have an electronic copy of? Fortunately, there are a variety of add-ons that you can add to Kodi and use to watch movies. Because Kodi is open source, anyone can develop an add-on which works with the software to perform whatever function they want, then they can share their add-on with the community so that you can use it too. This means that these add-ons aren’t officially part of Kodi and aren’t officially supported, but they work just great for particular functions. Here are a few of our favourite add-ons for streaming movies off the internet:
Covenant
This add-on is a fork of an older add-on called Exodus, which means that it is a copy of the code which has been modified for reuse. Exodus used to be one of the most popular add-ons for watching movies but it is no longer available. Fortunately, Covenant arrived to take its place. Covenant has a big library of movies, especially in the genres of action, horror, drama, and highly rated releases. Movies are usually available in 720p high definition format, and sometimes even in 1080p ultra high definition. This is a go-to add-on for watching movies for many Kodi users.
How To Install And Use The Covenant Add-On For Kodi
- Begin at your Kodi home screen
- Find the cog-shaped settings icon and click it, then go to File Manager
- Go to Add source
- Click on the box where it says <None>
- Type in this URL: https://archive.org/download/repository.xvbmc (You need to type it exactly, including the https://, to get it to work)
- Name the source, with a name such as xvbmc
- Click OK
- Go back to the home screen
- Click on Add-ons
- Click on the icon that looks like an open box
- Click on Install from zip file
- Click on xvmbc, then on xvbmc-4.2.0.zip
- Wait for a moment. Once the source has been installed, you’ll see a notification
- Click on Install from repository
- Click on XvBMC (Add-ons) REPOsitory
- Click on Video add-ons
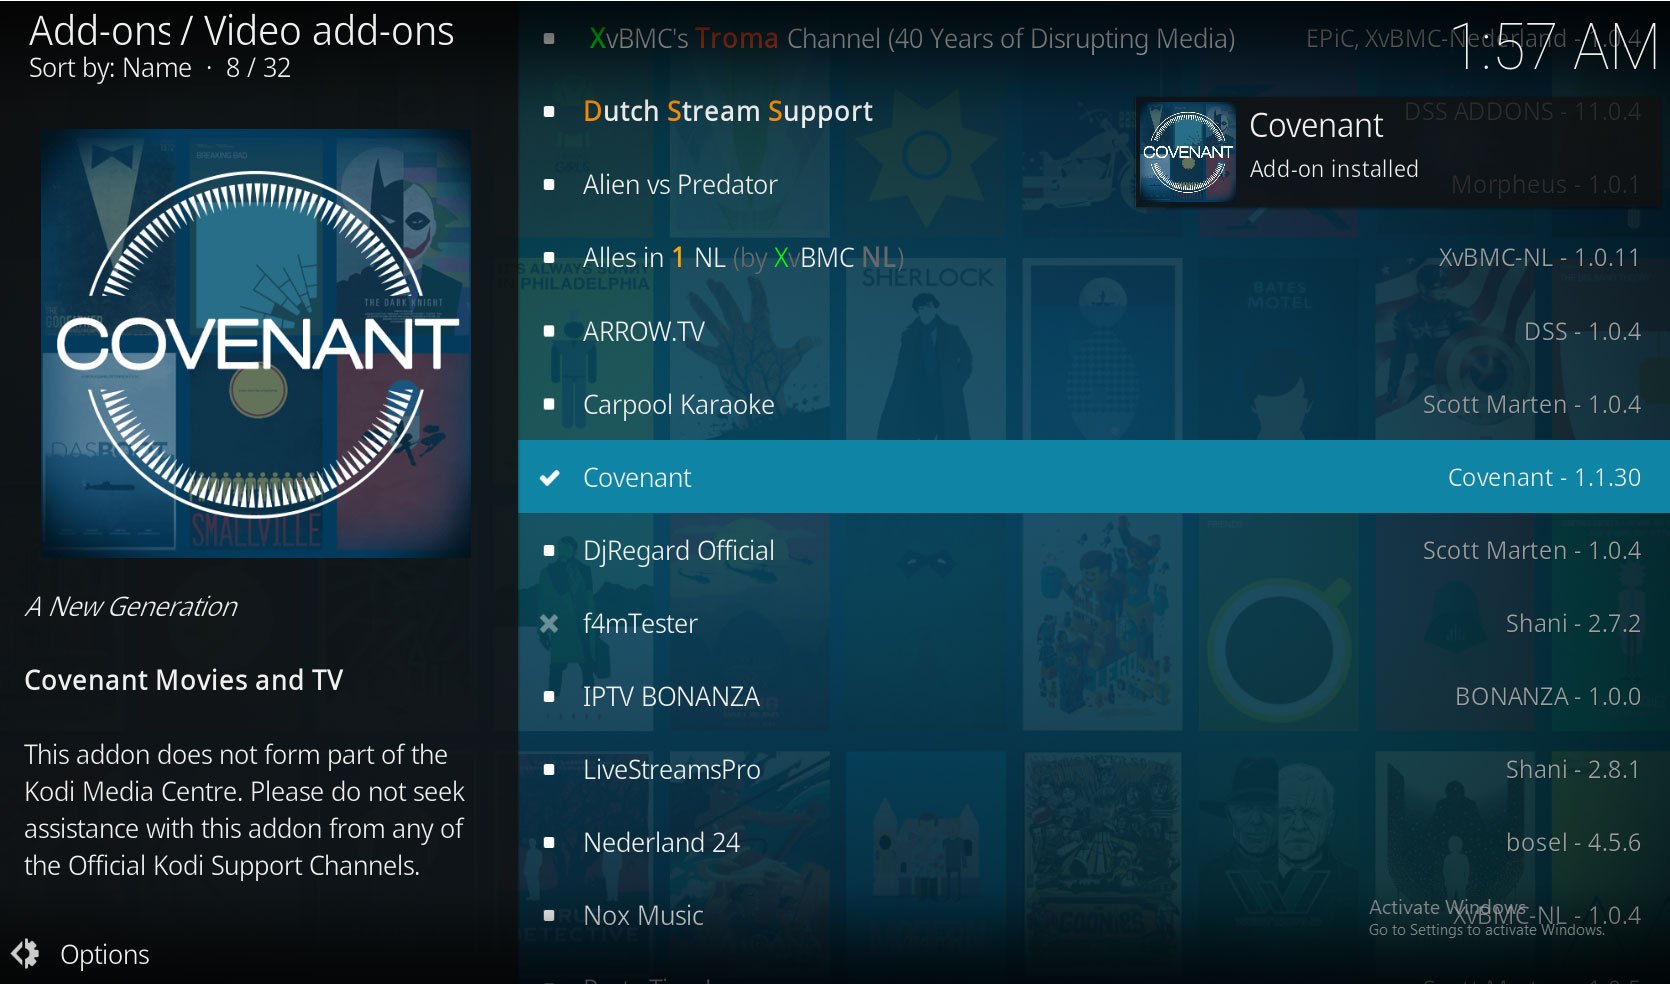
- Find Covenant and click it
- You’ll see a screen with information about the add-on. Click on Install in the menu at the bottom
- Wait for a moment. You’ll get another notification once the add-on has been installed
![Covenant Kodi Add-on Installed]()
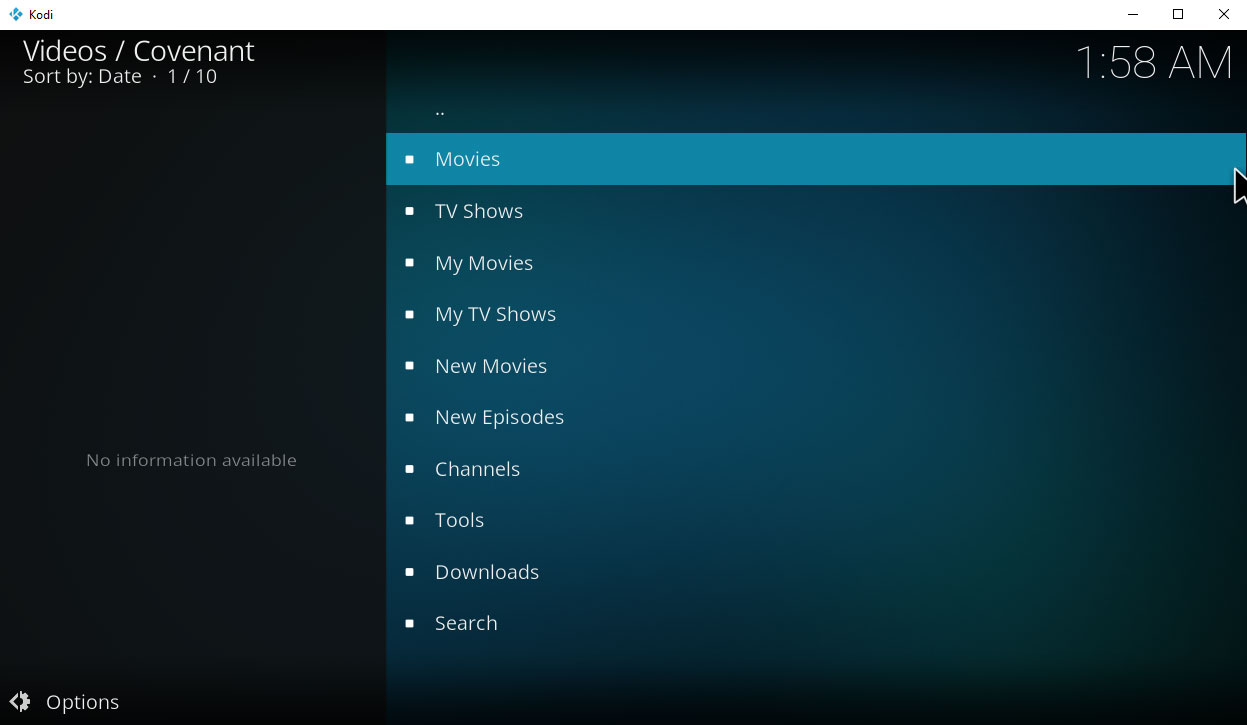
- In order to use the add-on, begin on your home screen. Go to Add-ons, then to Video Add-ons, then click Covenant to open the add-on
- Go to Movies and you’ll see a list of categories, like Genres, Year, Languages, and so on. You can search through these categories to find a movie if you want to browse. A particularly good place to look is the Most Popular category for the biggest and best films which are being talked about right now
![]()
- Alternatively, if there’s a particular movie that you want to watch then scroll down to the Search You can type the title of the movie you’re looking for here and you’ll be presented with a list of matching titles. Click the title you want and you’ll see a list of links where you can stream it
Elysium
An alternative to Covenant is Elysium, which is also a fork of Exodus. This add-on is similar, but has a few different features and pulls its movies from different lists than Covenant. That means that if you can’t find a working link for a movie in Covenant, you can often find it in Elysium. It’s even worth installing both of these add-ons so that you have plenty of options to find movies. Elysium has more of a nerdy slant, with lots of superhero, sci fi, and fantasy movies available, but it has the big releases in other genres too.
How To Install And Use The Elysium Add-On For Kodi
- Start out on your Kodi home screen
- Click the settings icon that looks like a cog, then go to File Manager
- Click on Add source
- Click where it says <None>
- Type in the following URL, (including the https://): https://noobsandnerds.com/portal/
- Name the source something like noobsandnerds
- Click OK
- Go back to your home screen
- Click on Add-ons
- Click on the icon that looks like an open box
- Click on Install from zip file
- Click on noobsandnerds, then on noobsandnerds Repo (2.3.0).zip
- Wait a moment. When installation is complete, you’ll see a notification
- Click on Install from repository
- Click on noobsandnerds Repository
- Click on Video add-ons
- Find Elysium and click on it
- You’ll see a screen describing the add-on. From the menu at the bottom, click on Install
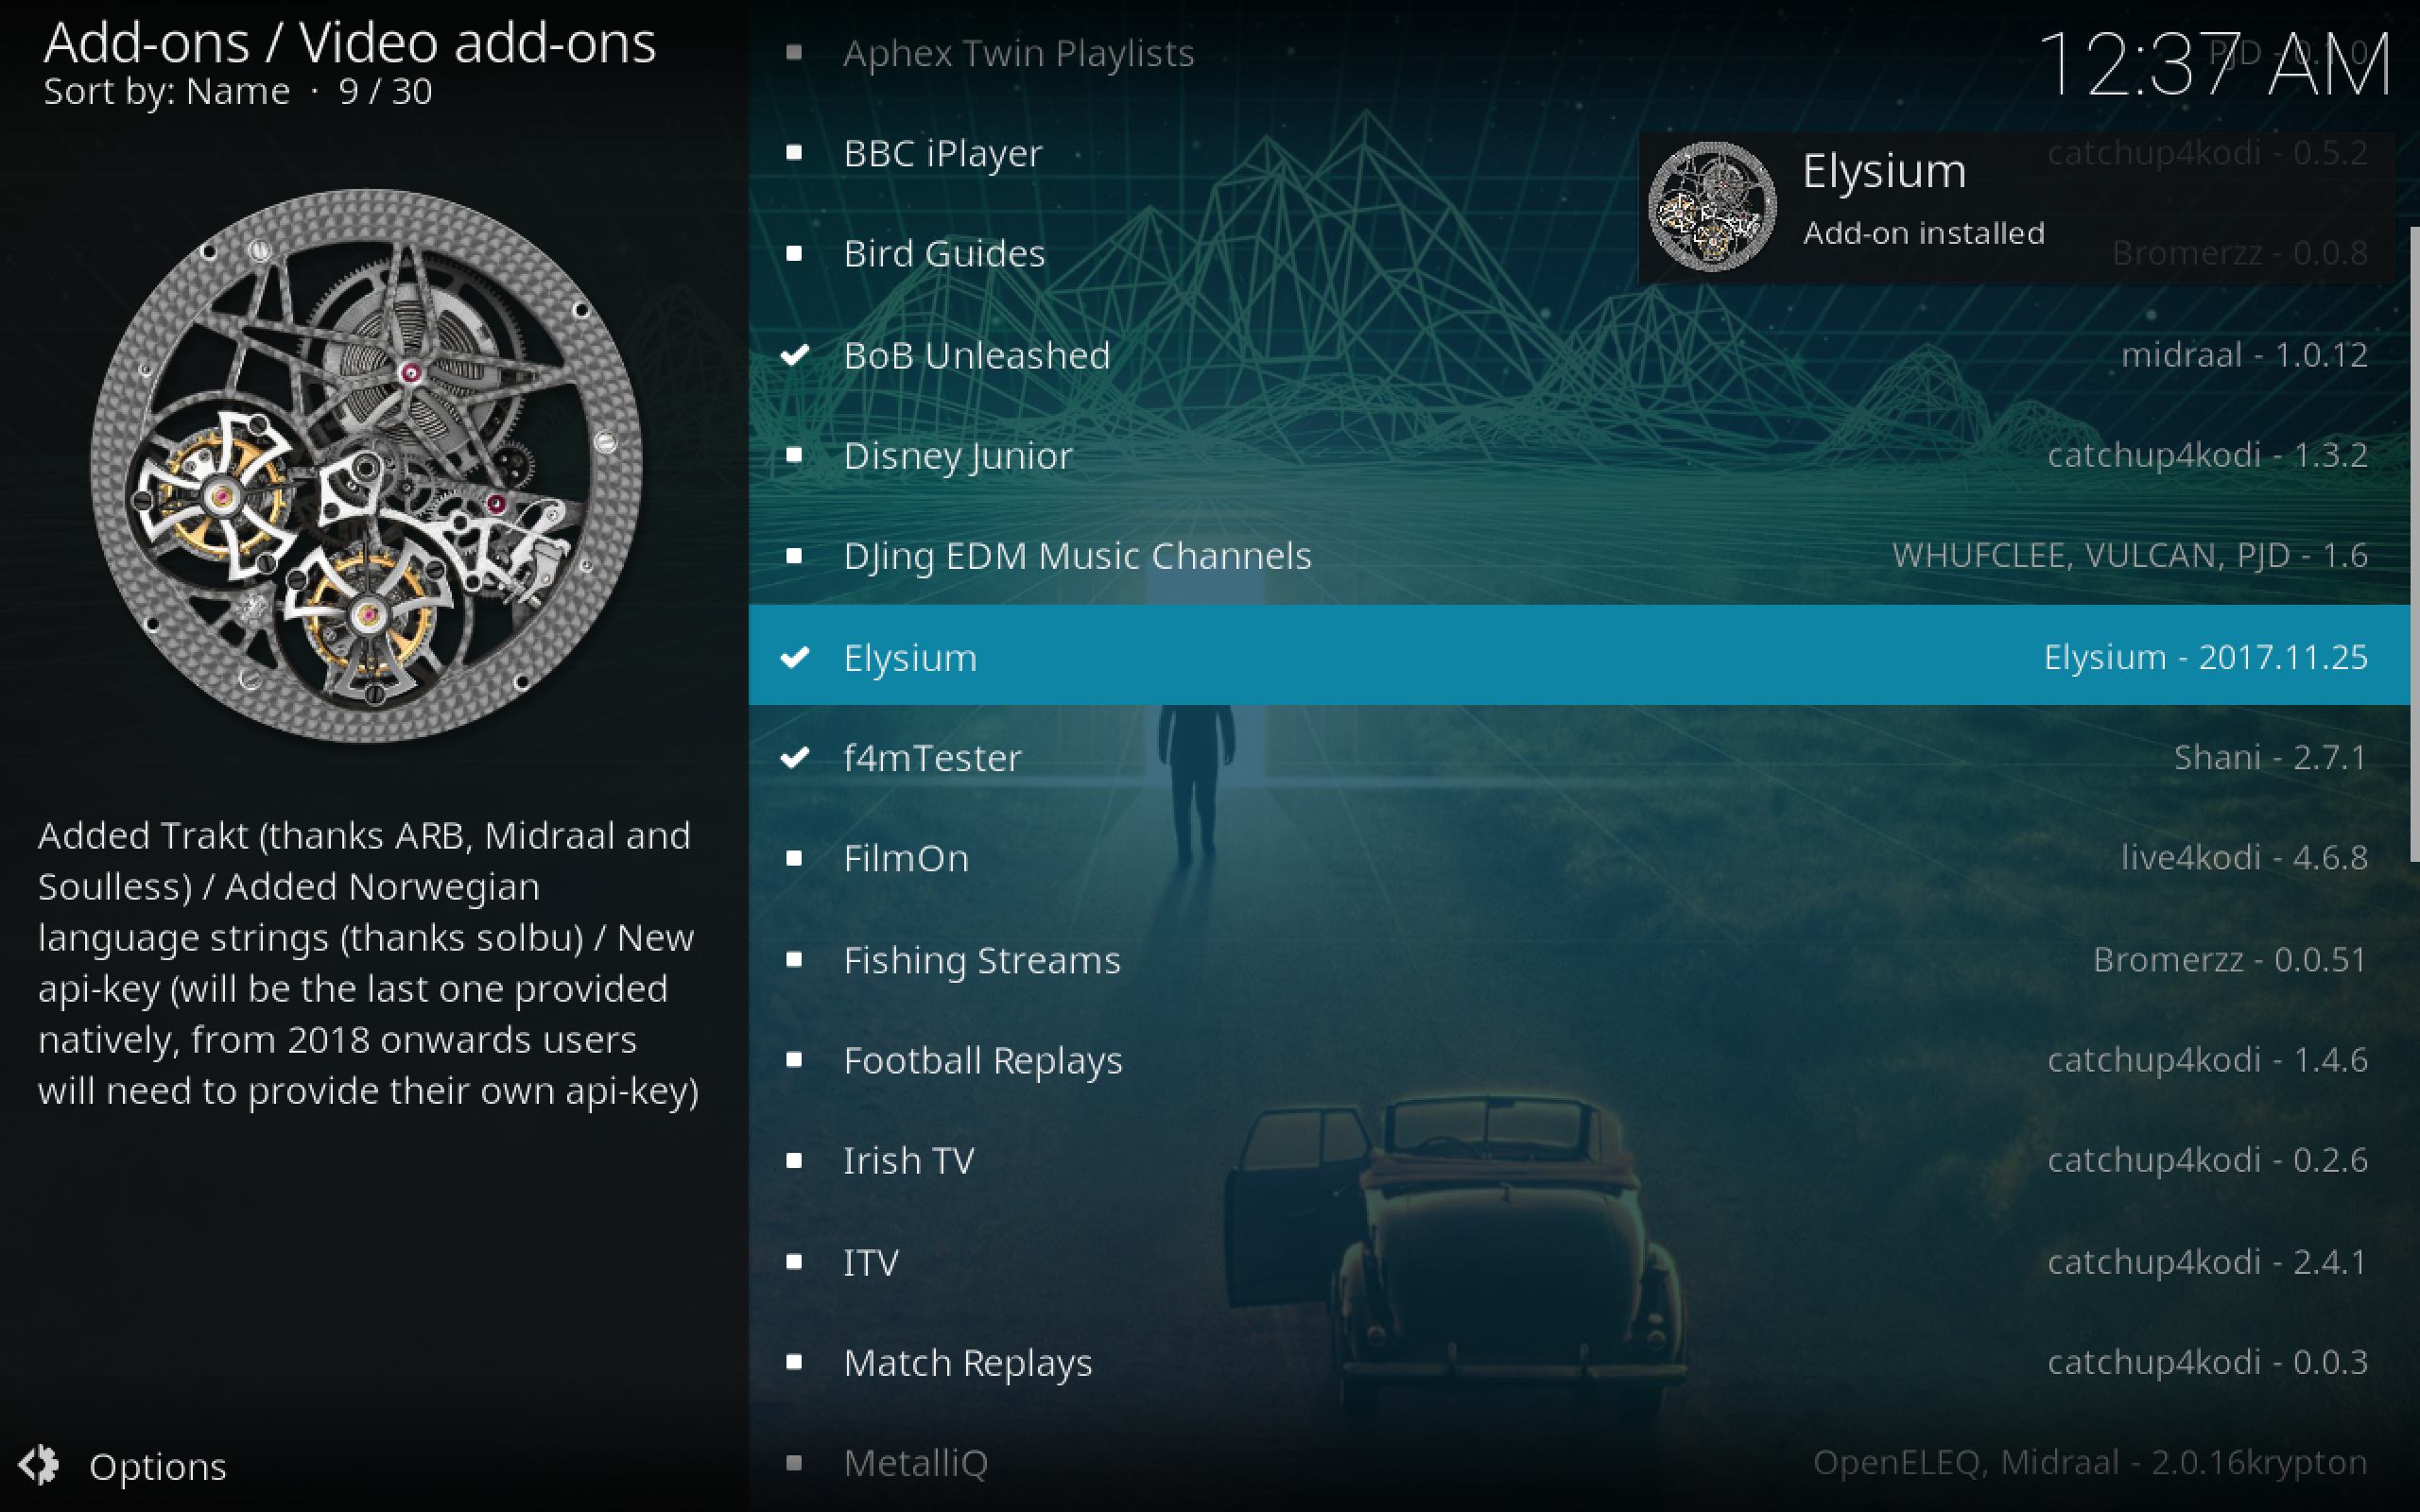
- Wait a moment again. You’ll see another notification to tell you that the add-on has been installed
![Elysium Add-on Installed]()
- When you want to use the add-on, start on your home screen. Go to Add-ons, then to Video Add-ons, then click on Elysium and the add-on will open
- Go to Movies and choose from categories like Popular, New Movies, or Top Rated to browse through lists of movies. Or alternatively, use the Search feature to find a particular movie you want to see
- Other categories worth looking at are the Kids Collection for family friendly movies, Holiday for seasonal movies, and Marvel Universe which has an impressively comprehensive list of Marvel movies for all you superhero fans out there
- Click on the title of any movie and you’ll see a popup where sources are checked. Wait for the bar to fill and you’ll be presented with a list of links where you can watch the movie. Helpfully, the highest definition links are at the top of the list. Click any link and the stream will begin
FilmRise
If you’re not sure about using add-ons to stream due to legal issues, then you can try FilmRise. This add-on pulls videos from YouTube, making it much safer to use as the content it has is generally all legally and freely available. The downside of this is that the add-on might not have a specific big Hollywood film that you want to watch available, but it does have a lot of independent and less-known films for you to explore. Unfortunately, there’s no way to search this add-on so you’ll have to browse using the set categories – but maybe you’ll discover an underrated gem of a movie!
How To Install The FilmRise Add-On For Kodi
- Start at your Kodi home page
- Go to Add-ons
- Click the image that looks like an open box
- Go to Install from repository
- Go to Kodi Add-on repository
- Go to Video add-ons
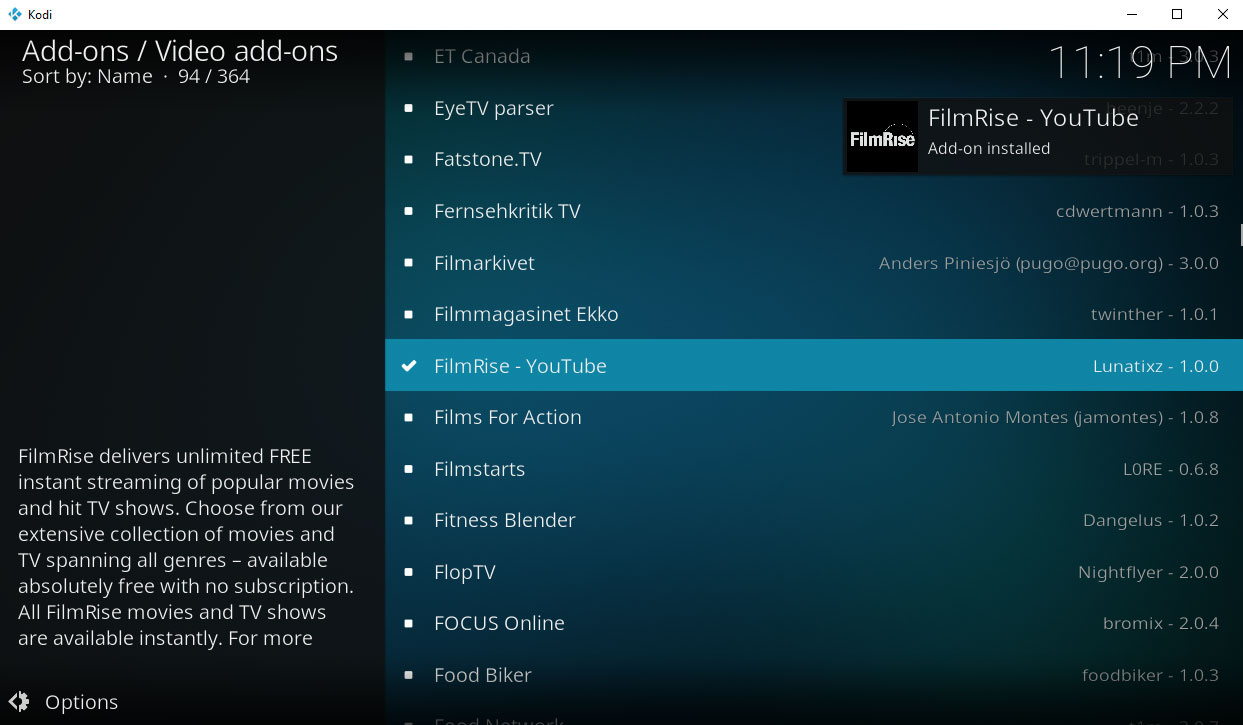
- Click on FilmRise – Youtube and then click Install
- Once the installation is complete, click on the title again and then click Open
- Go to Movies
- You can select any movie and click on its title to start the stream
- You can also explore the other sections like LGBT, Cinema, Cinematheque or Documentaries which include links to some movies as well as TV shows and other videos
- Because this add-on pulls videos from YouTube, sometimes links will not work because files have been taken off the YouTube site. This is particularly a problem with big name movies which tend to be taken down quickly. If you run into this problem, try using one of the other add-ons we have suggested in this article
Conclusion
Kodi is wonderful software for organising and viewing your movies, whether you have electronic files stored on a hard drive, NAS, or cloud storage account, or whether you’re looking to stream new movies from the internet. You can add your existing files to your Kodi library by following the steps in this article in order to create an attractive, well organised, and informative library for you to browse through so you can pick out a film to watch. You can also try installing add-ons in order to stream movies from online sources, and doing so through Kodi instead of through your web browser gives you a better experience – no pop ups ads, no having to look through tens of websites to find the file you want, and a larger number of links than you could easily find on your own. Between these two methods you can watch all of the movies that your heart desires?
Do you like to watch movies on Kodi? Which method do you use? Let us know in the comments below!
