How To Automatically Mount Network Shares On Linux
Much like manually mounting a hard drive in Linux, accessing network shares is tedious. IP addresses must be specified, logins configured, etc. Being able to log into your PC and automatically mount network shares means work gets done easier. Much like auto-starting a hard drive, automatically mounting a network share is done within the fstab file. In this guide, we’ll go over how to automatically mount NFS shares, Samba/CIFS shares, and even SSHFS shares! Here’s how to get it done.
Back Up Fstab File
Editing the fstab file is very dangerous, and any changes could seriously break your system if you mess up. Before starting this tutorial, open up a terminal and do the following:
Step 1: make a folder on your PC to store the backup. Additionally, consider uploading said backup to services like Dropbox or Google Drive for safe keeping.
mkdir ~/system-backups
Step 2: gain a root shell, with sudo -s, and then enter the /etc/ directory.
cd /etc/
Step 3: create the backup and place it in the backup folder.
cp fstab /home/username/system-backups
Step 4: rename the file so it has a .bak file extension.
mv fstab fstab.bak
Restore The Backup
Step 1: gain a root shell with sudo -s.
Step 2: enter the /etc/ directory and delete the broken fstab file.
cd /etc/
rm fstab
Step 3: copy the backup into the /etc/ folder.
cp /home/username/system-backups/fstab /etc/
Step 4: rename the backup.
mv fstab.bak fstab
Autostarting NFS
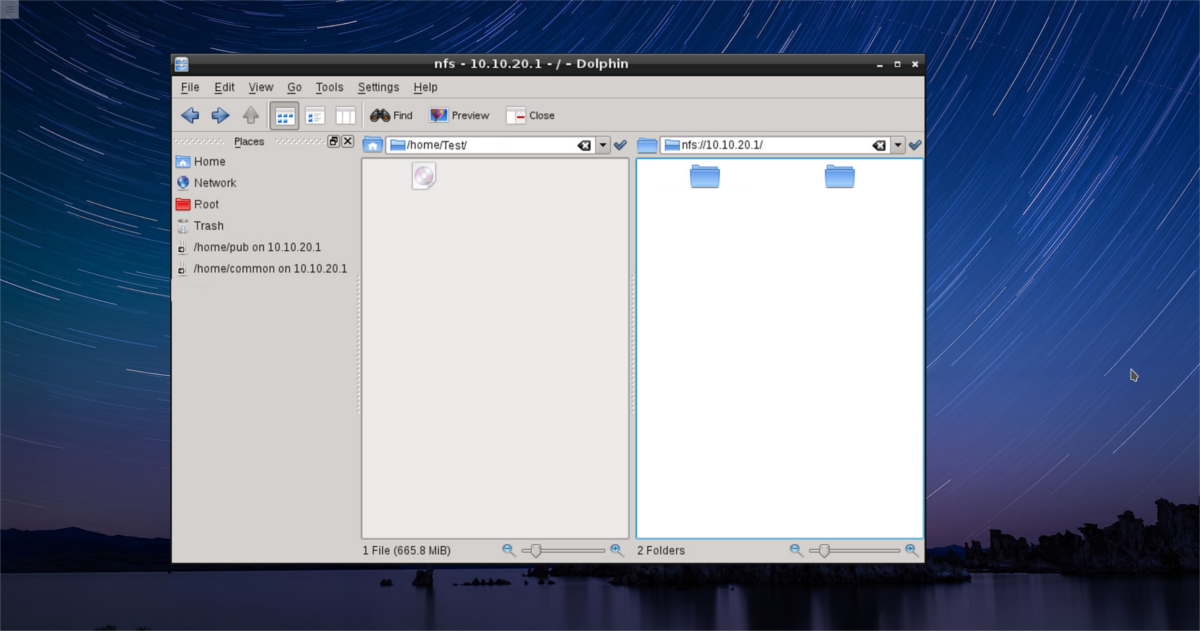
Mounting an NFS share is annoying and tedious; especially for new users. For people unfamiliar with NFS and how it works, it might look like rocket science. That’s why it’d be nice to be able to log into a PC and have easy access to shares right away, without the fuss. To accomplish this, you’ll need to write out a line in the fstab file.

First, find the name of the share you wish to mount. For example:
showmount -e 192.168.1.150
Then, make a folder where the NFS should mount to on Linux.
mkdir ~/Network-Files
Open the fstab file with nano.
sudo -s
nano /etc/fstab
Write out the mount line. Here’s an example of how it should look:
# Data from my NFS server
servername:/data /home/username/Network-Files nfs rsize=8192,wsize=8192,timeo=14,_netdev 0 0
Note: replace “data” with what your NFS share is titled.
Save the changes to /etc/fstab by pressing CTRL + O, and reboot. At login, your NFS share will automatically be mounted.
Autostarting SAMBA
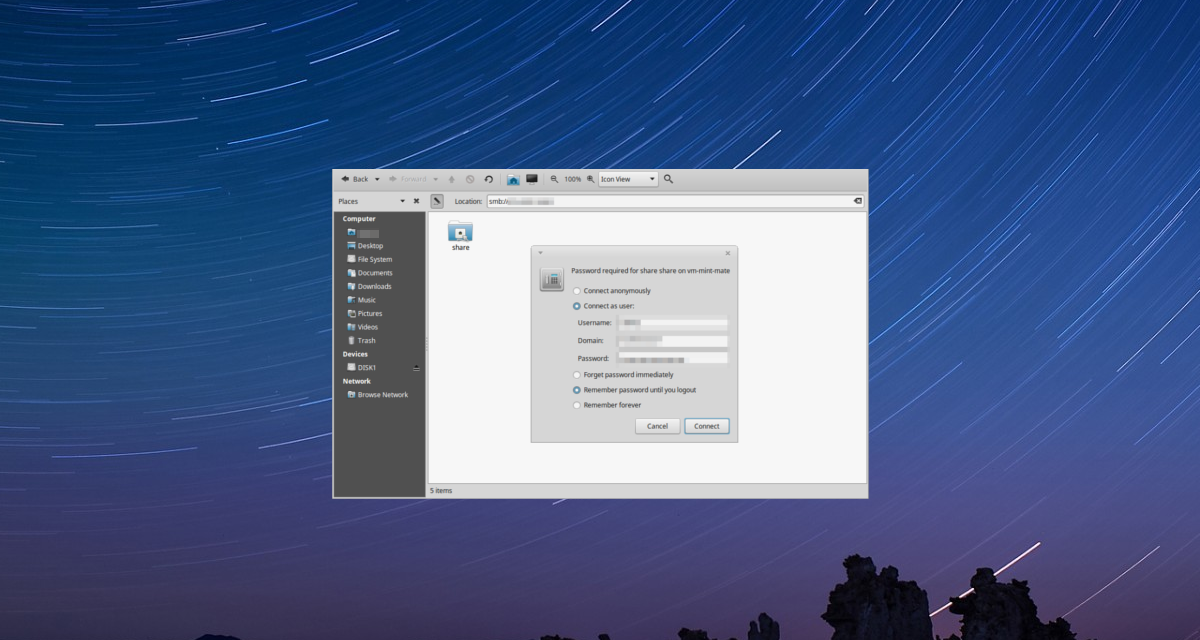
Samba is a great tool. With it, Linux admins can serve networked files to the three major PC operating systems, and even mobile. Samba is widely used because of it. Despite this, the SMB protocol is a real pain to access manually. File managers on Linux sputter and take forever to find a share, and sometimes ignore IP addresses even.

That’s why it’s great to be able to mount these types of shares at login.
To start off, install CIFS utils. This is a set of tools that make automatically mounting Samba shares work properly.
Ubuntu
sudo apt install cifs-utils
Debian
sudo apt-get install cifs-utils
Arch Linux
sudo pacman -S cifs-utils
Fedora
sudo dnf install cifs-utils
OpenSUSE
sudo zypper install cifs-utils
Other Linuxes
CIFS is a critical component to Samba. As a result, most Linux operating systems contain CIFS tools. To get this package on your Linux distribution, search for “cifs utils”, or something similar, then install it with your package manager.
Note: you must create a mount directory before trying to mount SMB.
sudo mkdir /mnt/samba
With the tools downloaded, set up the mount:
sudo -s

nano /etc/fstab
Write out your mount line. Here’s how it should look:
# Samba share from my server
//SERVER/share /mnt/samba cifs username=user,password=password 0 0
Note: replace “share” with the name of the share, and “SERVER” with the name of the server, or IP. Change “=user” to your Samba user, and “=password” to your Samba password.
With the mount line written out, press CTRL + O to save the changes, and then reboot. At the next boot, the Samba share will automatically mount.
Autostarting SSHFS
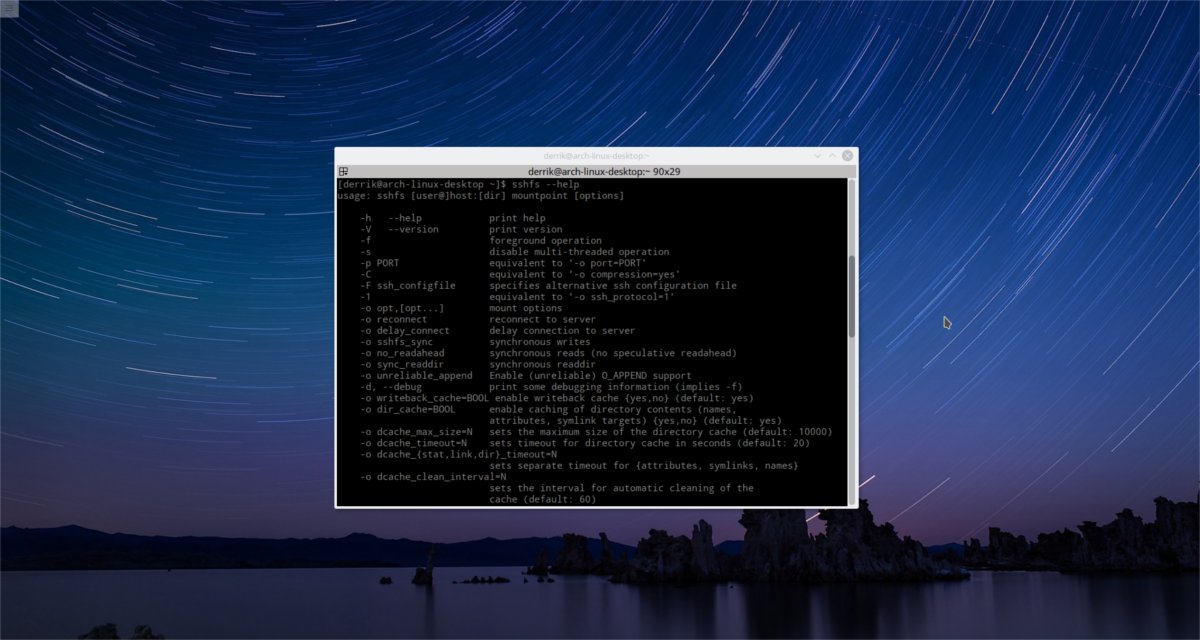
SSHFS is a very useful tool for those working on servers. With it, any file system can easily be shared and accessible via SSH. However, mounting SSHFS is tedious to type out. For this reason, many people automatically mount SSHFS at startup. Here’s how to do it.

First, install the SSHFS package.
Ubuntu
sudo apt install sshfs
Debian
sudo apt-get install sshfs
Arch Linux
sudo pacman -S sshfs
Fedora
sudo dnf install sshfs
OpenSUSE
sudo zypper install sshfs
Other Linuxes
SSHFS is widely used. It is because of this, users of obscure Linux distributions should have no trouble installing it. To find it, open your package management tool, search for “sshfs” and install it.
Note: Automatically mounting SSH file systems are done thanks to the systemd init system. If your operating system does not have systemd, you are out of luck with this method
First, create a mount point for SSHFS to land in on the system:
mkdir ~/Remote-Machine
Gain a root shell, and open the fstab file. Then, write out the mount line. Please change “user” and “host” with the username and remote IP/hostname, and username with your username.
# SSH File System Mount of my server
user@host:/remote/folder /home/username/Remote-Machine fuse.sshfs noauto,x-systemd.automount,_netdev,users,idmap=user,IdentityFile=/home/username/.ssh/id_rsa,allow_other,reconnect 0 0
After writing out the mount line and comment, save the edits to fstab by pressing CTRL + O. Reboot. At next log in, the SSHFS share will automatically mount!
Conclusion
Network shares are easily the best way to access files. Unfourtunatly, accessing them can be a real tedious process sometimes. This is why it’s so cool that it’s possible to automatically mount these shares on Linux. It allows users to remove the tediousness of always having to mount network shares manually.

You might try the gigolo package using Synaptic or “Software Manager” (or just use the command `sudo apt install gigolo` on your Debian based distro. It’s nice if you don’t want to do manual scripting (more MS windowsOS like). If you have it auto connect and startup on your profile it feels more like saved network places in MS Windows OS’s. Project home page https://www.uvena.de/gigolo/ for details.
Yeah, helpful when everything else is AOK. I ran into the same problem as “shovyhandle”. Only root can access the share, however on Mint, you maybe able to change the user to root at login. Not smart as many say. However, I tried it and viola, logged in as root to the GUI I have access. Still, I have no idea what to add to the fstab to use it as user “xyc”
Cheers.
Thanks, this was very helpful
my linux entry for fstab
UUID= /mnt/x ext4 acl,user_xattr,_netdev 0 0
solved my issue where drive was getting mounted before network comes on, using _netdev solved the issue
Any idea why each time I try to access the mount it says that the operation is permitted for root only? I added my default admin user to the root group but still facing the same issue.
Tried SAMBA using fstab but Linux Mint won’t mount the location stating that only root can mount drives. Should there be an extra command in fstab to mount a network location using SAMBA?
I’ve spent hours looking for good “how to” to connect my eOS with my server on boot. Then I found this page. Thank you very very much!