How To Clone Your Linux Install With Clonezilla
Hard drives fail. It’s not a question of “if”, but “when”. This is why having a backup plan is important. It’s a good idea to know that no matter what, your data is safe and secure. On Addictivetips, we’ve gone over a few ways Linux users can keep their data backed up. In this tutorial, we’ll go over one of the most popular (and reliable ways) to backup your data with Clonezilla. This tool lets you clone your Linux install. With it, you can load a live USB and easily “clone” hard drives, operating systems and more. We’ll discuss how to take control of your data, create backups, and learn how to restore them too.
Downloading Clonezilla
Clonezilla is available only as a live operating system. There are multiple versions of the live disk. That being said, we recommend just downloading the ISO file. The stable version of the software is available at Clonezilla.org. On the download page, select your CPU architecture from the dropdown menu (32 bit or 64 bit).
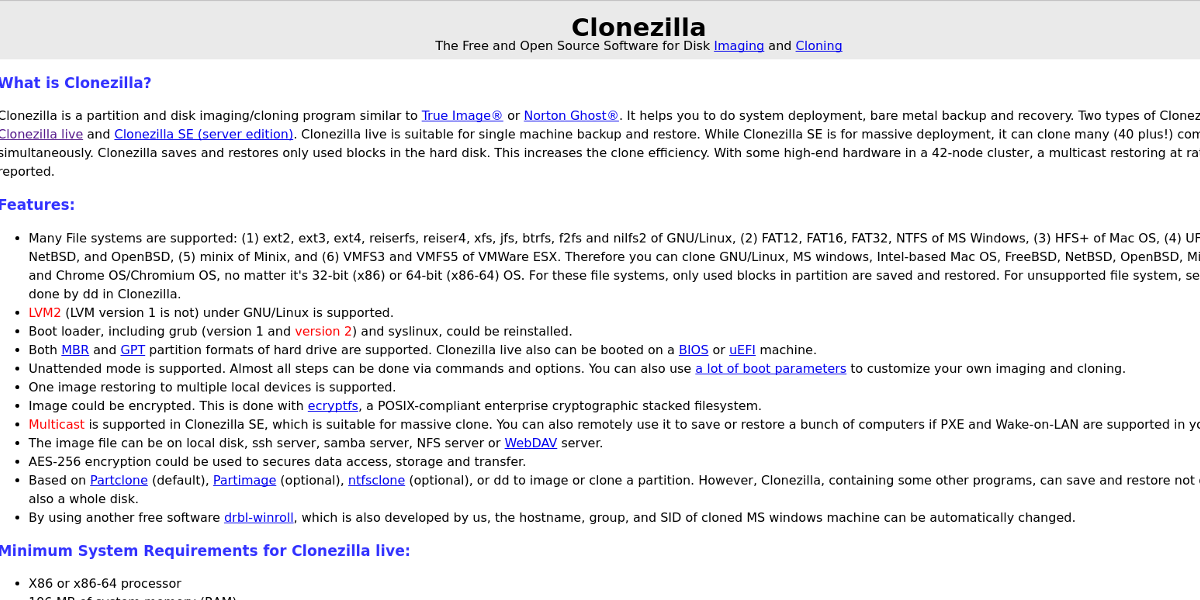
Then, click “filetype” and click ISO. After all of that, click the download button.
Making The Live Disk
Regardless of the operating system, the fastest and easiest way to make a Linux live-disk is with the Etcher USB imaging tool. Head over to this page to download it. Follow the instructions on the page, as it will explain the three-step process it takes to make a live disk.
Note: Clonezilla is under 500 MiB in size. As a result, any flash drive with at least 512 MiB of space will work.
Device To Image Cloning
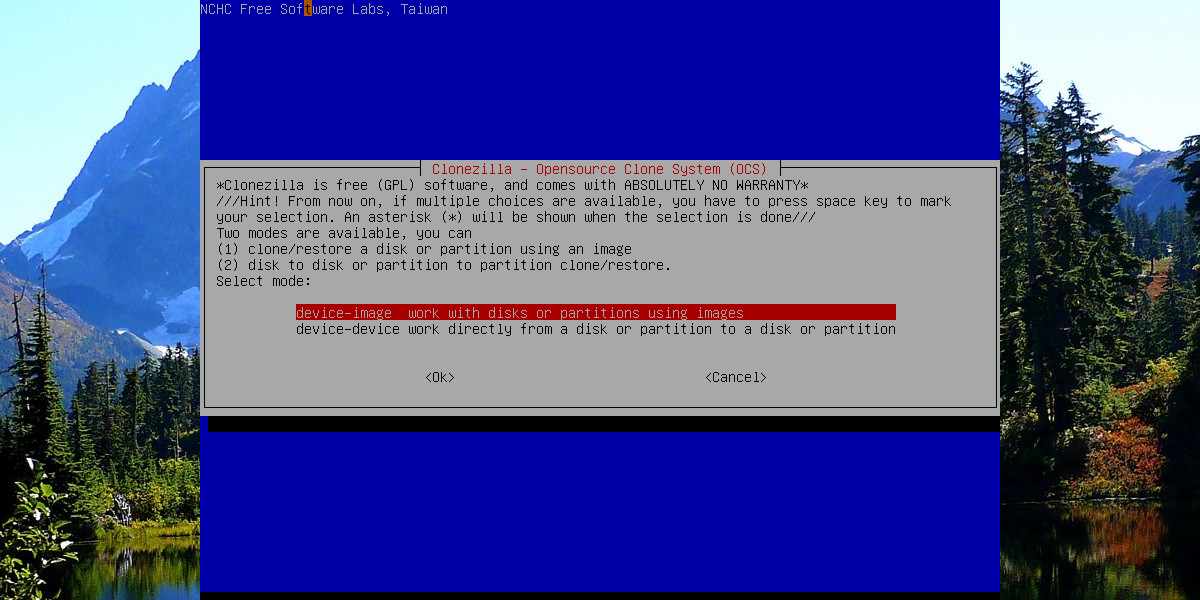
Backing up a Linux installation directly to an image file with Clonezilla is a simple process. To start off, select the “device-image” option in the Clonezilla menu. On the next page, the software gives a whole lot of different ways to create the backup.
The hard drive image can be saved to a Samba server, an SSH server, NFS and etc. If you’re savvy with any of these, select it. If you’re a beginner, connect a USB hard drive (or mount a second hard drive connected to the PC) and select the “local_dev” option.
Selecting “local_dev” prompts Clonezilla to ask the user to set up a hard drive as the destination for the hard drive menu. Look through the listing and select the hard drive you’d like to use. Additionally, use the menu selector to choose what directory on the drive the hard drive image will save to.
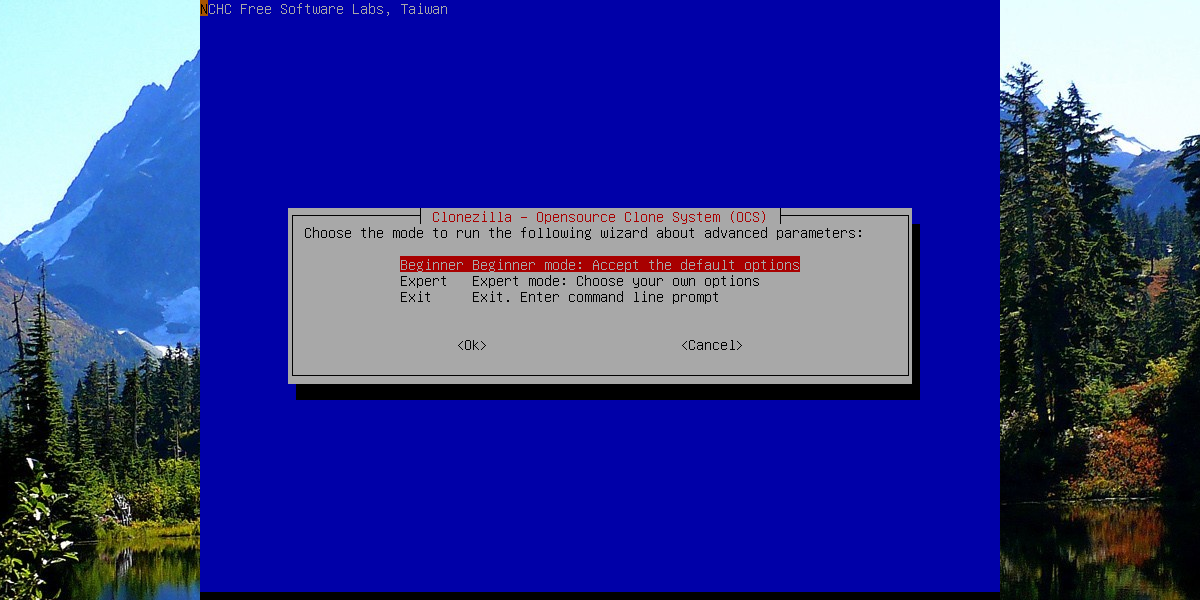
With the storage location set up, the process can begin. Clonezilla asks to run the backup wizard. There are two options: “Beginner” and “Expert”. Select “Beginner” to start the process.
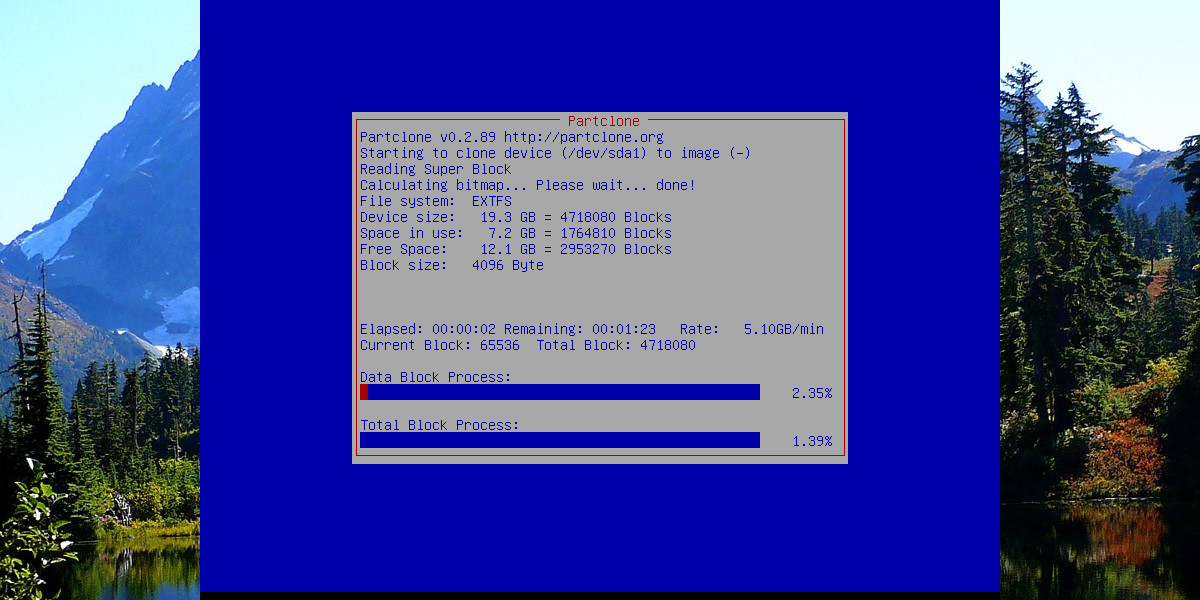
On the next page, tell Clonezilla how to save the hard drive. Select “savedisk” to copy the entire hard drive to one file. Select “saveparts” to backup the drive into separate partition images.
Restoring Backup Images
To restore an image, load Clonezilla and select the “device-image” option. Next, select “local_dev”. Use the menu to select the hard drive previously used to save the hard drive image. In the directory browser, select the same options you used to create the image.
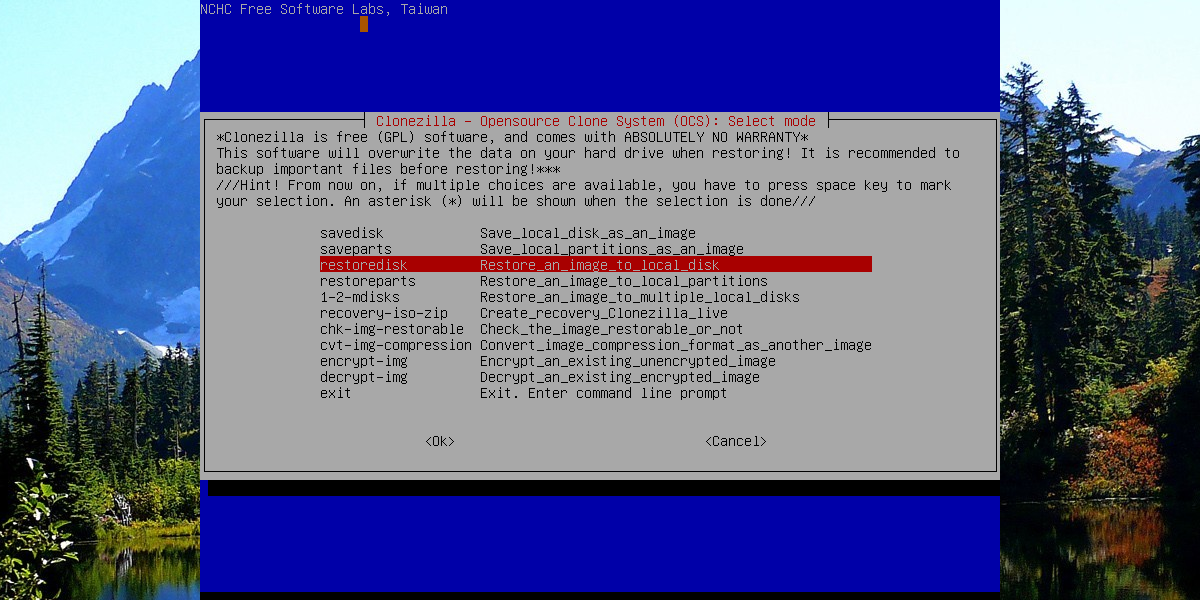
During the backup, Clonezilla asks the user to pick from “Beginner” and “Expert” modes. Once again, select the “Beginner” option. Then, on the next page, find the “restoredisk” option and select it.
From here, just select your IMG file(s) and Clonezilla will do the rest!
Device to Device Cloning
If you’re not interested in making a device to image backup, Clonezilla offers another option: device to device cloning. This option allows the user to make an exact copy of any hard drive. To do a device to device clone, select “device-device” at the startup menu in Clonezilla.
Note: make sure the hard drive you plan to clone to is plugged in before starting this process (either via USB, or internally).
On the next page, select “Beginner” mode. This makes the Clonezilla clone process much easier to understand.
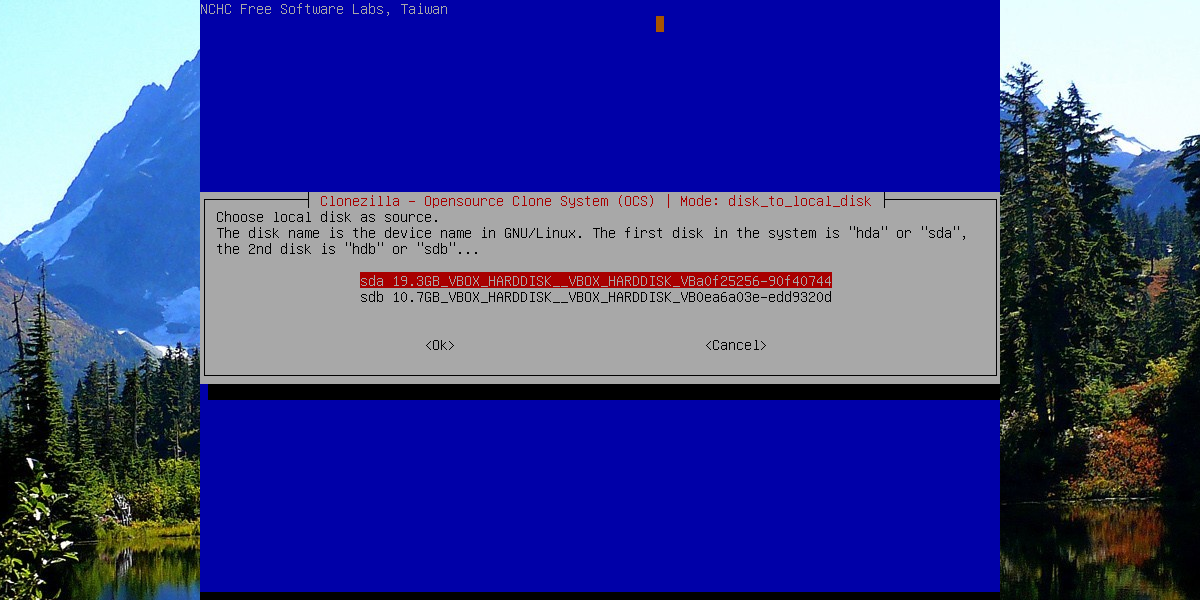
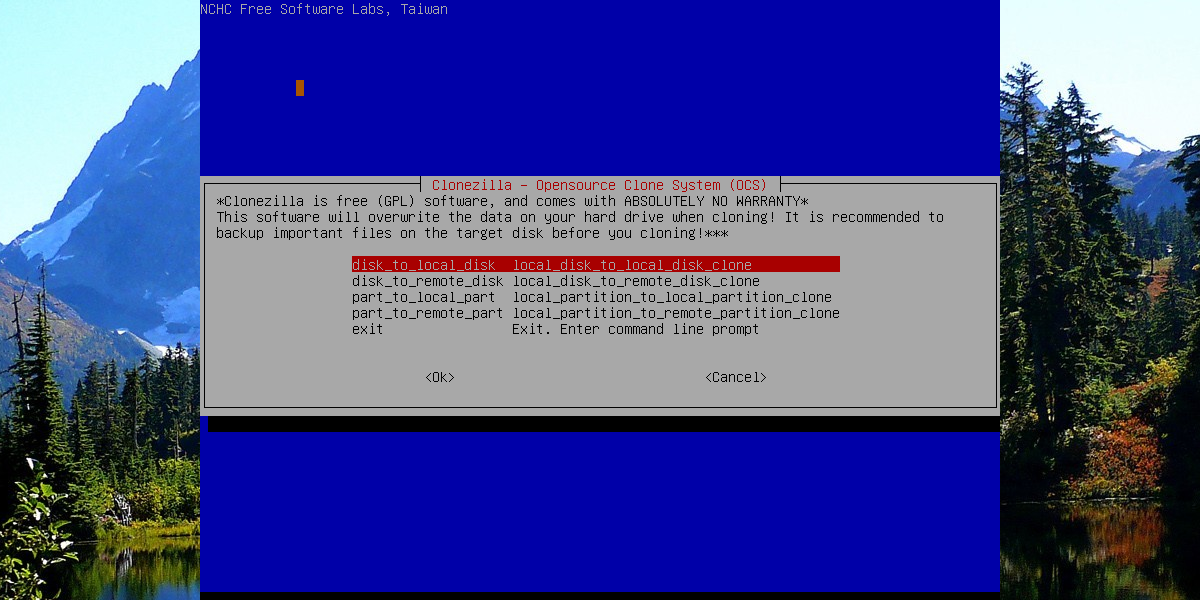
From here, the wizard asks the user to pick the method of cloning. To clone from one hard drive to another, select “disk_to_local_disk”.
Select the hard drive you wish to clone (aka the source disk) with the menu, and press the enter key to continue.
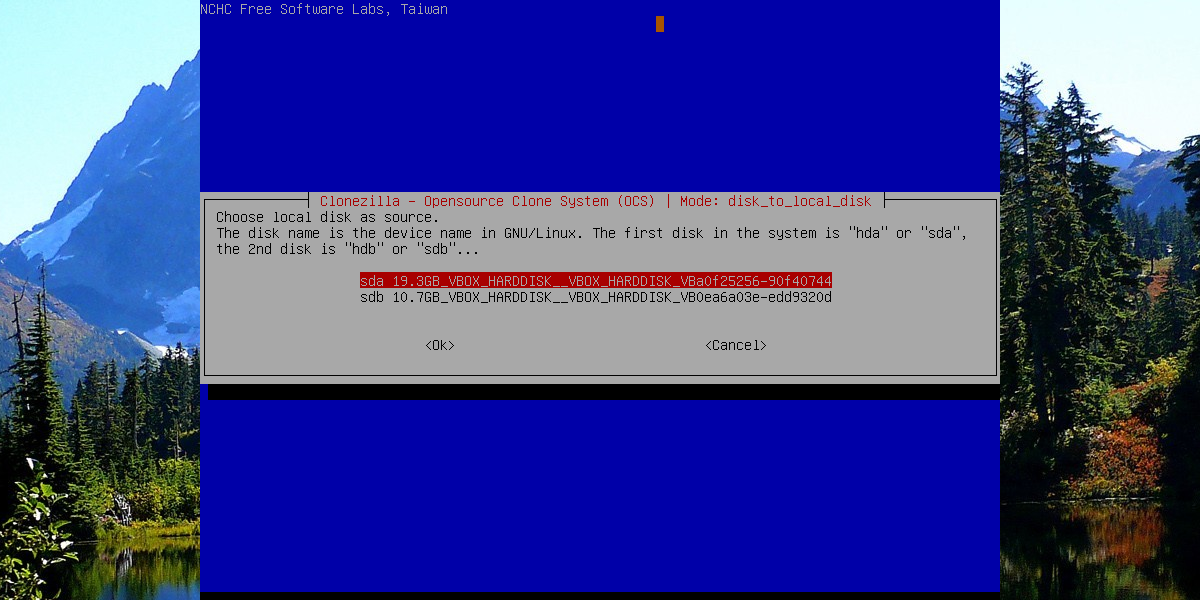
Then, select the hard drive to use as the destination disk. This is the hard drive that the first disk will be cloned to.
With all these settings configured, the cloning process can begin. Keep in mind that data takes a very long time to copy, even over Sata/PCI connections. DO NOT unplug your PC, or turn it off. Be patient, and after a while, Clonezilla will finish cloning.
When complete, reboot the PC.
Conclusion
Out of the many ways to create backups on Linux, Clonezilla remains the easiest to user. Not many other backup solutions require so little involvement from users. If you’re looking to clone your Linux install (or even just misc data) Clonezilla is a solid option.
