How To Scan A Document Or Photo With Windows Fax And Scan
Recently, I had to scan some photos for my brother, he has an HP all-in-one DeskJet connected to the Sony Vaio laptop. The All-in-one DeskJet from HP contains scanner, copier and printer all in one box. Since he is not a computer expert, he only installed the drivers that came in the CD and did not bother to install other software from HP. And to make matters worse, he even lost the CD.
It is not surprising, since such cases take place almost daily. I too, never bother to install 3rd party apps that come with the product since they are always a piece of crap. So how would you scan documents or photos in Windows Vista without even installing a 3rd party scanning tools? Meet Windows Fax and Scan.
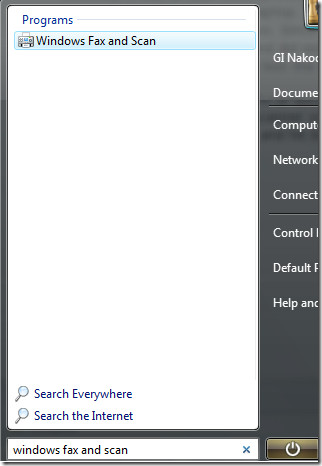
Windows Fax And Scan is a build-in feature for Windows Vista and 7 which allows a user to quickly scan and/or fax a photo or document. In this post, we will only concentrate on scanning. First connect the Scanner via the USB cable to your computer. Now go to Start, in the Start Search type Windows Fax And Scan, and hit Enter.
Once it is loaded, select Scan from the lower side of the left sidebar. This will show a list of all previously scanned images, by default Windows has included one default image.

Now click New Scan and it will show a Scan window. Now before you scan, choose between scanning a photo or a document. Choosing a profile is important, since Documents are usually scanned in Grayscale and Photo in color, every profile has different settings. You can also create a new custom profile to suit your need.
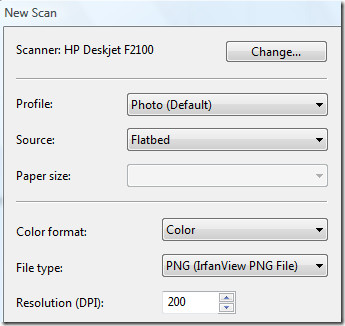
Once you have selected the profile, select the color format, file type, and the resolution. You can also select the Contrast and Brightness of the scan. Before you click Scan, make sure you select Preview. This will show you a quick preview of the photo you are scanning. Preview is usually faster than scanning, since no settings are applied to it.
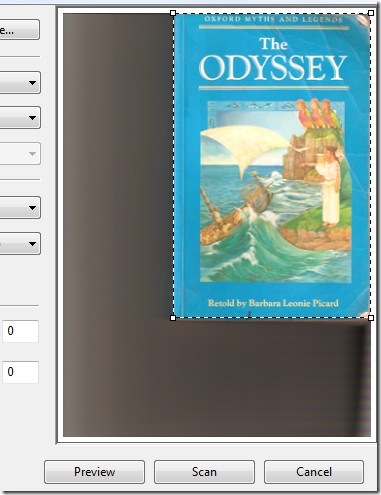
The basic function of the Preview is to tell the user whether the photo or a document has been placed properly and also let’s you crop the area that you want to scan. Once ready, hit Scan and wait for it to complete, the time it takes would depend on the area you are scanning and the settings you have applied.
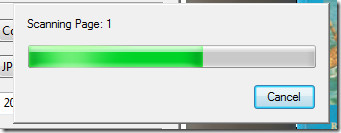
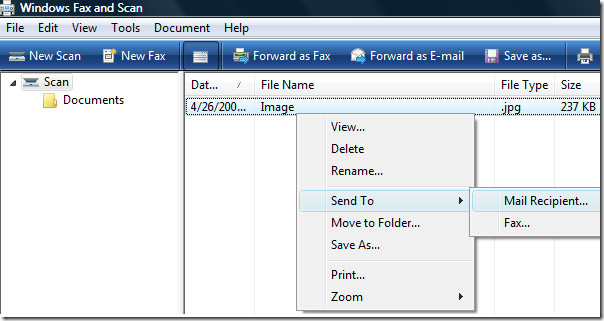
When the scan is complete, the image will be added to the list of scanned images. To Preview, Rename, Send, Save, Print, etc the scanned image, simply right-click it and select the desired option from the context menu.
You will also be able to see a quick preview of the images at the bottom of the window(this preview option can also be disabled). That’s it. Enjoy!

Thanks a lot! This was exactly the kind of quick guide I was looking for!
GRACIAS!
Me sirvió muchísimo
HP Officejet 6210 on Wndows 7 (64 bit); can not save document scan as .pdf or .doc Useless!!
Hi, I am Rhonda . Windows Fax and Scan will not scan a page in Win 7 64 bit os, Dell desk top. I have an Hp c7280 all in oneconnected USB and i have posted in every forum I can find. Any ideas?
What about Scan to .pdf file?
Thanks alot atleast l have an idea on how to scan! what about the video show on this?pliz
My version of Vista Home Premium does not have fax and scan. Which version does have fax and scan
Food for thought – I use Xnview to scan documents as you can then convert (save) the scan to any kind of file (pdf, jpg, gif, tiff, png, etc) output.
Yup it’s great too. Thanks for sharing!