Screen Clipping – Capture Screenshot Using Microsoft Office 2010
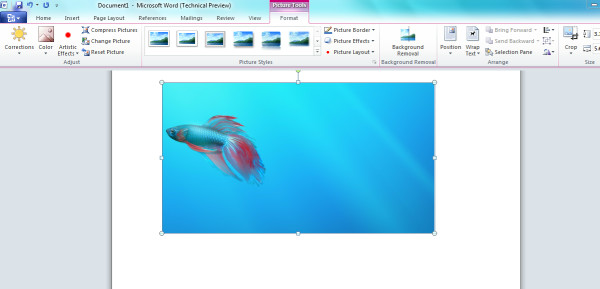
Now there is no need to install additional programs or utilities to capture screenshots, you can use Microsoft Office 2010’s Screen Clipping Tool. Adding screenshots to your documents and presentations in only a couple of clicks away. It is one of the important features of Microsoft OneNote that has been added in both MS Word 2010 and MS Powerpoint 2010.
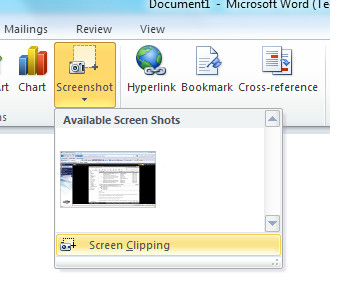
Lets explore how we can use it in MS Word 2010. First of all launch MS Word and click Insert Menu, you will be seeing Screenshot tool located at icon bar as shown in the following screenshot.

Now, you will notice the drop down button, click it and you will see list of available screenshots and screen clipping tool.


the web clipping in evernote is way way better..
Yea the software in this post… . screen clip for MS Office/One Note
is there a way to save it as automatically? Like maybe into a dropbox folder?? imagine the possibilities. I already do have software doing so, but screen clip in office 2010 is the only one that allows me to shoot from either of the two screens hooked up to these pcs of mine. With other software I can only take shots from the primary monitor, but i can edit it with the software and have it do whatever in the process.
Can you name the software in question?