Is Steam Compatible With Windows 10 Creators Update?
The Creators Update is has been available to all users worldwide for a few months now. The feature loaded update is doesn’t add too many new bugs but it does have its usual easily fixable issues. There’s just one problem though. Every time a major Windows update is available, Windows runs a compatibility check. The Update Windows 10 app ran a device and app compatibility check before it let you reserve a copy. That compatibility check still works and it seems to be telling users that Steam needs to be installed. The question is, is Steam compatible with Windows 10 Creators Update, or any Windows update for that matter.
Why Steam?
Steam is still compatible with Windows 10 up to and well past the Creators Update. WIndows Update is telling you to uninstall Steam because some of your games aren’t compatible with the new update.
Steam is not just a standalone tool, it is the front-end for all of your purchased games. Some of those games are protected by Data Rights Management (DRM) which prevents external programs from tampering with the software/game. The Steam client itself is not subject to any DRM, however its installed games are. To curb piracy, Steam retains the power to install/uninstall games without the help of Windows. Any time you want to uninstall a Steam game, Windows will launch Steam and the item will be deleted from within.
The downside of this measure is that when Windows finds a conflict with a game that will not comply (or interferes) with the update, it will need to be uninstalled. Since a game cannot be uninstalled without Steam, Windows requires that all of Steam be let go hence the compatibility warning.
Here’s what do instead.
Take A Backup
It is not plausible for one to spend time and energy trying to figure out exactly which game is incompatible with the update. However, you can take a backup of your existing game library and restore that for later usage. Your game progress is almost always stored on Steam, so you don’t have to worry about losing that regardless of what method you use to backup/upgrade.
There are two ways to back up games in Steam.
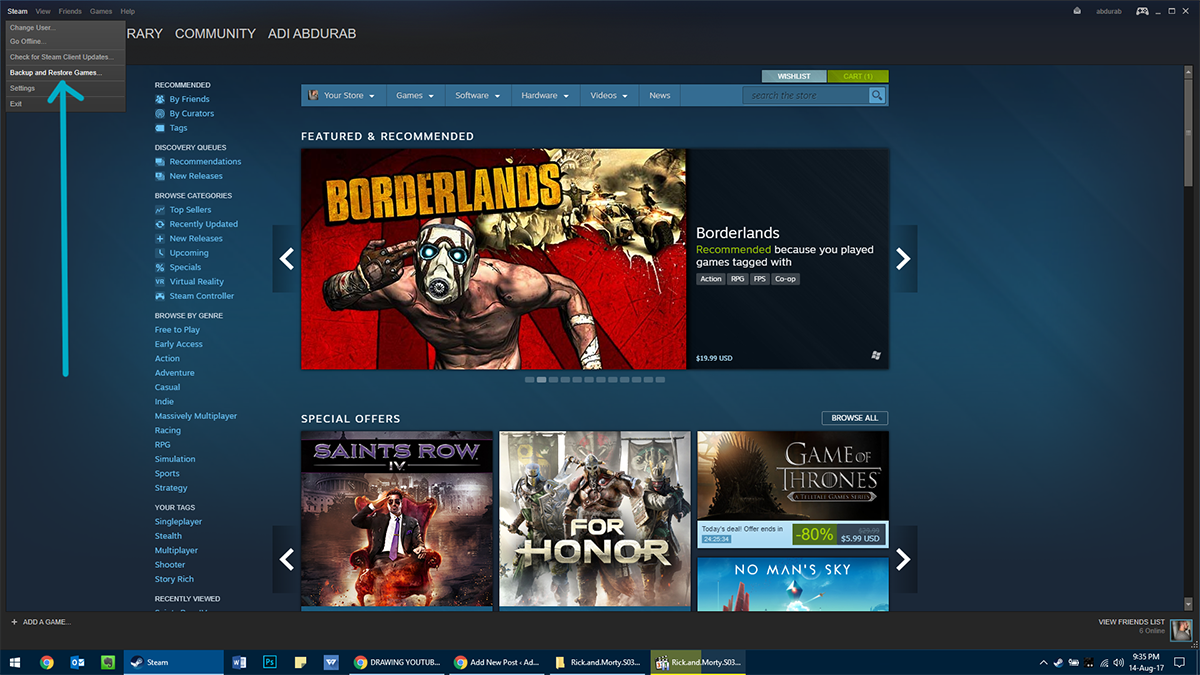
Method 1 – From Within Steam
Launch Steam and go to the Steam Menu. Go to Backup and Restore>Backup Currently Installed Programs.
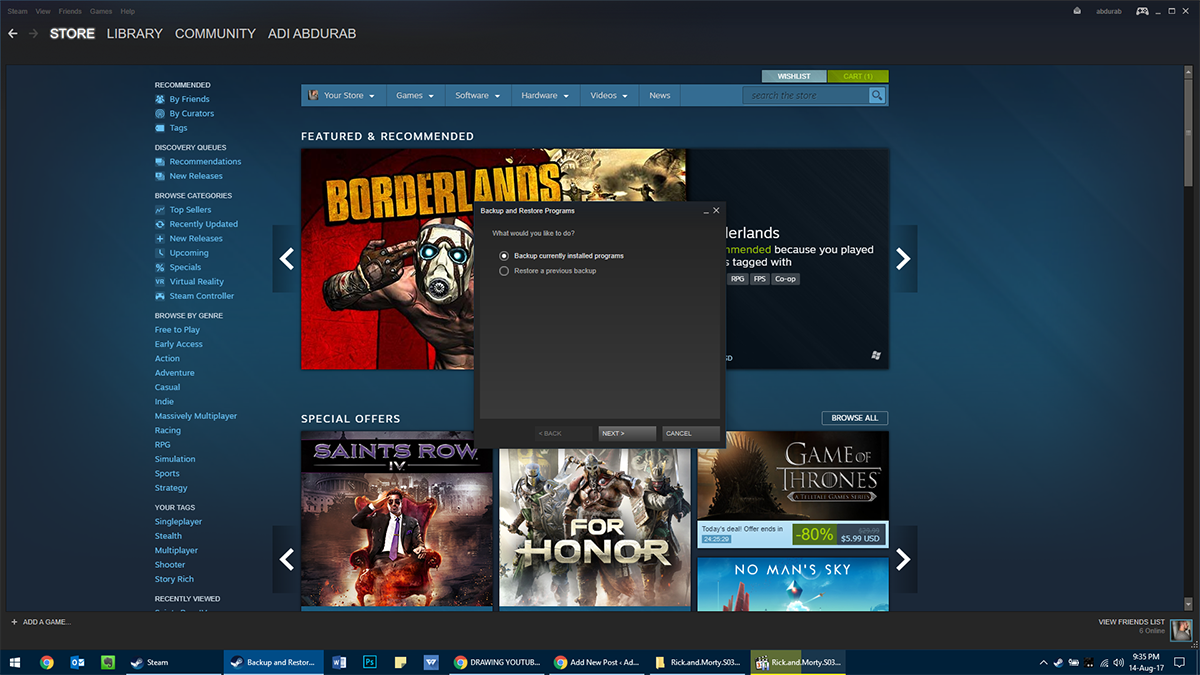
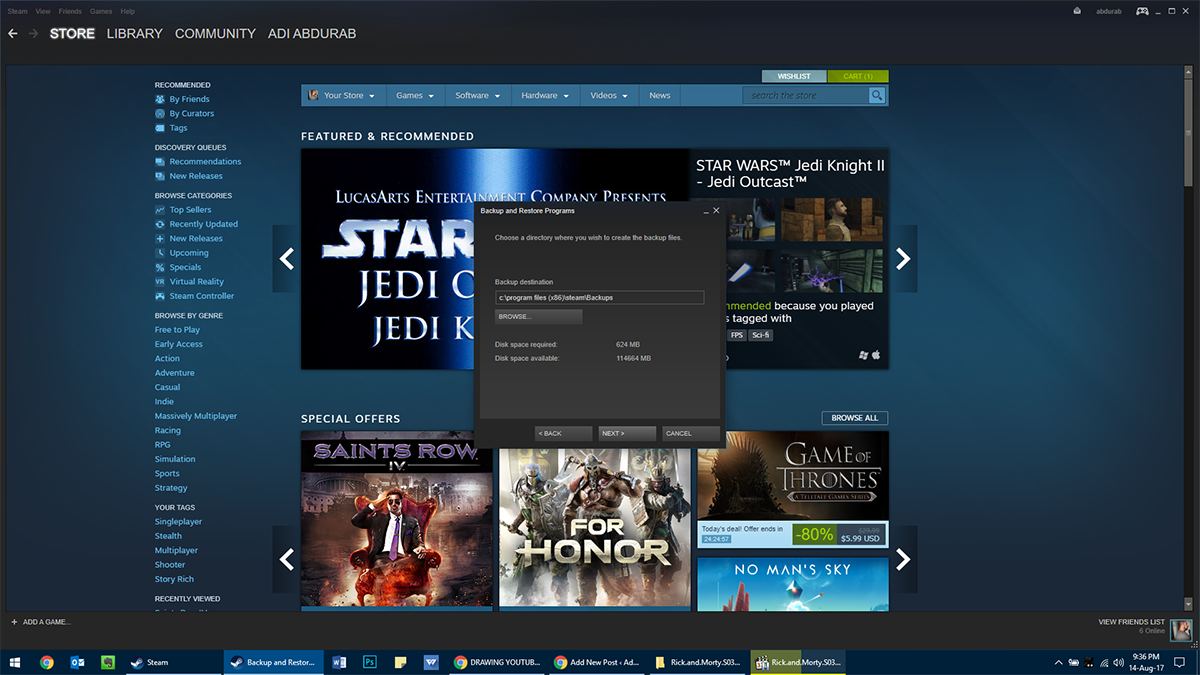
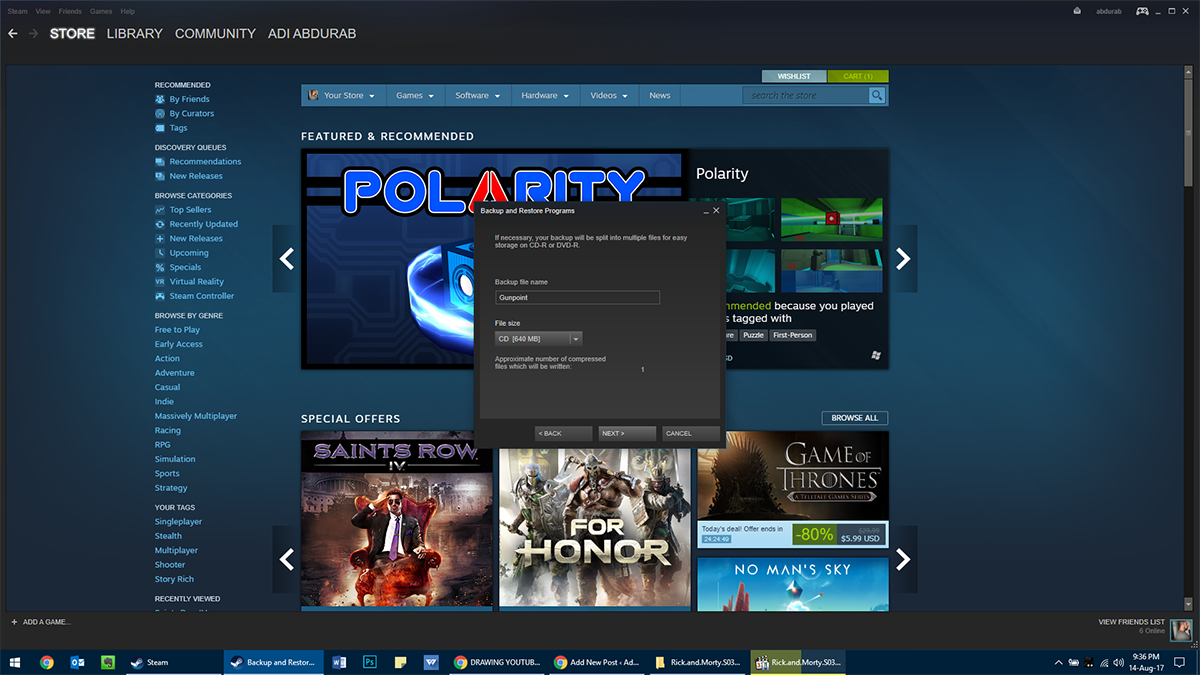
From here, select all the games you want to back up, where you want to back them up (ideally in a different partition than the one housing Windows) and pick how many pieces you want the back up to be in. This comes in handy if you are transferring data using multiple writable CDs/DVDs/USB Dive. Now, the backup will take a while depending on how big the total size was and how fast your hard disk is, this is where an NVMe SSD really shines.
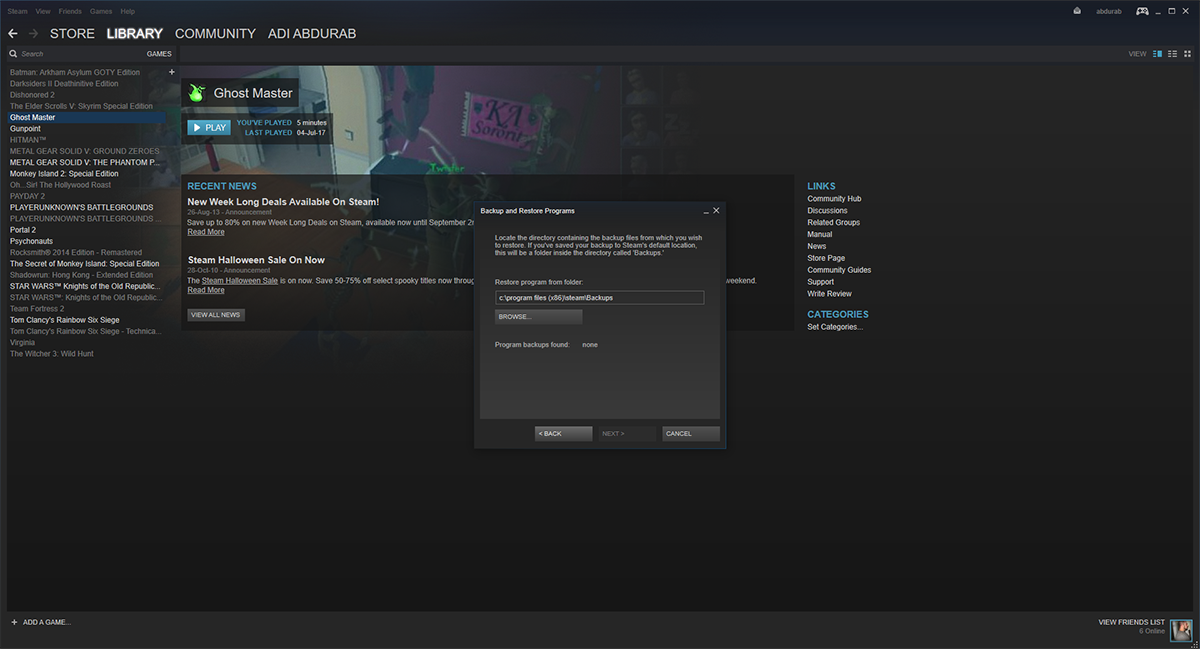
Restore
Once you have taken your backup, update Windows. Install Steam and restore your games from your backup. Open Steam and go to Steam Menu>Backup and Restore>Restore a Previous Backup. Select the folder where your back up and tell it which games you want to reinstall and wait for the copy to finish. This too will take some time.
Method 2 – From Windows
This method is not going to take up as much time as method 1, but older games (or games that have not been updated in a while) might not fully recover using this method. However, Steam is designed to not let one game’s fault hold up the entire library.
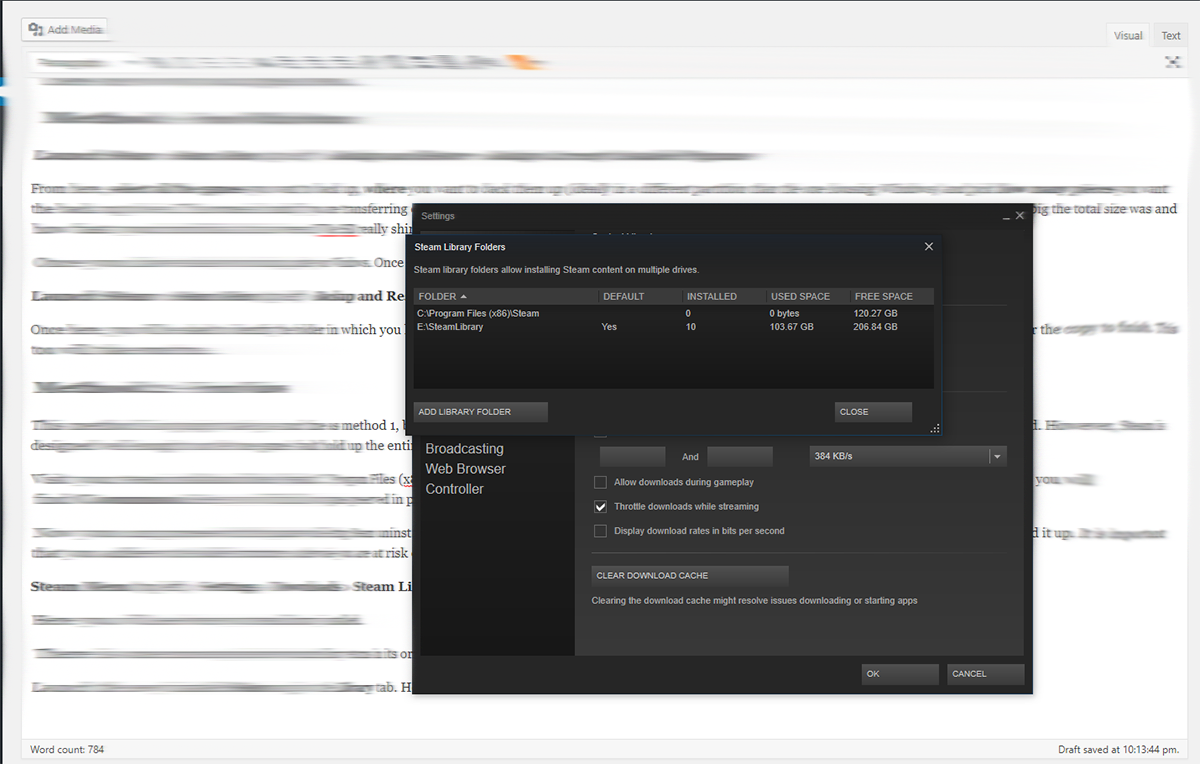
Visit your Steam installation folder (default: C:\Program Files (x86)\Steam). Go to SteamLibrary>SteamApps>Common. Here, you will find all your games preserved in pristine condition. Either copy, or cut this folder to a different drive/partition/folder wherever you want.
Now you can proceed with the update while letting Steam uninstall. After the update, reinstall Steam. Now, paste the contents of the ‘Common’ folder you copied before the update back in the same directory after the update is complete.
All you need to do is go to that folder and make your way to SteamLibrary>SteamApps>Common and put your games here.
Restore
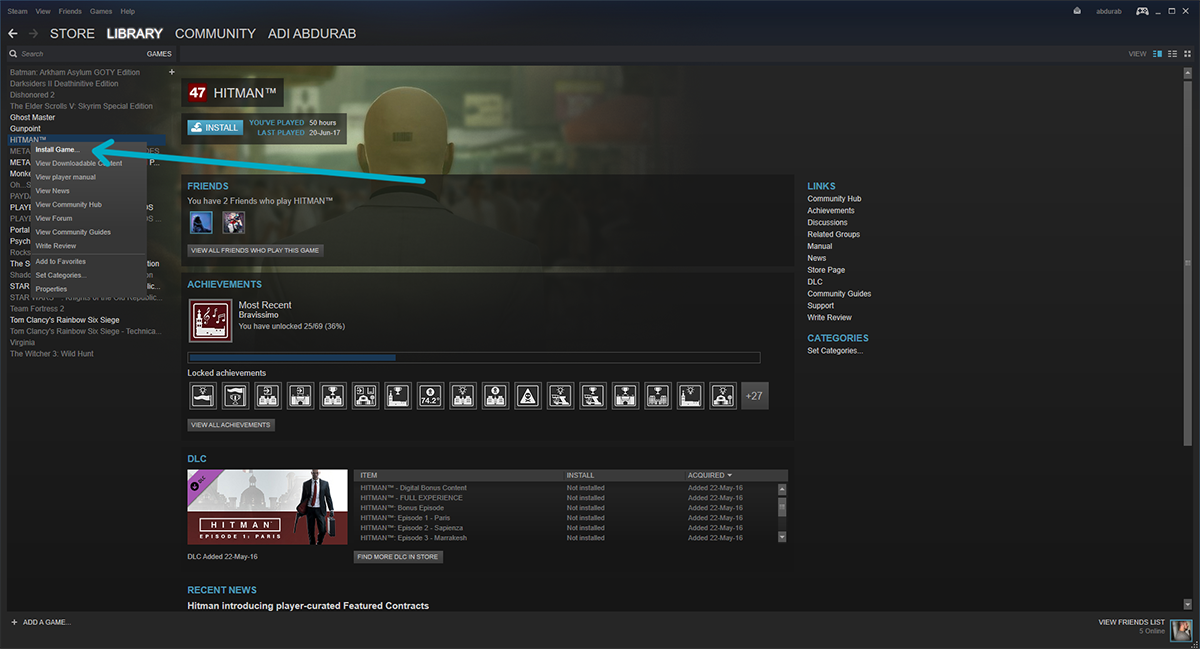
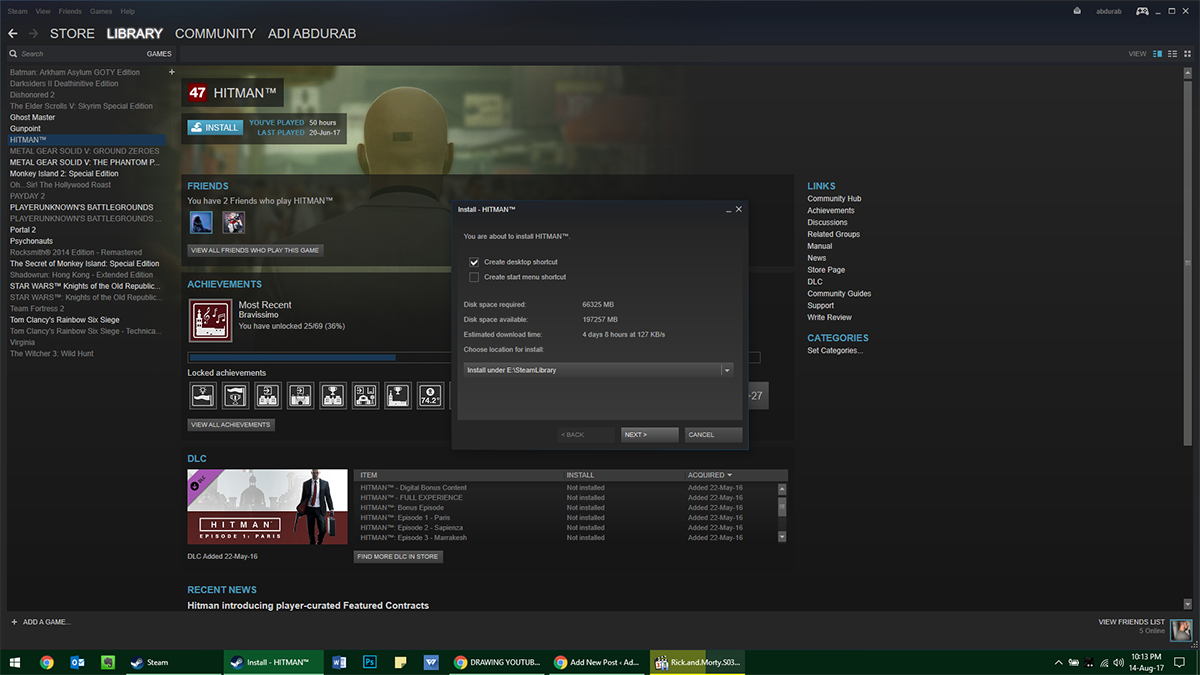
Launch the newly installed Steam and go to the Library tab. Here you will see all your installed games grayed out. Right click on each one and click Install. It will first check the installation, if it is the same version as the online game, it will be installed within minutes. If there is an update, that update will be downloaded and your game will be accessible without issue.
Note: If, for some reason, you have a backup of your games and Steam is installed but you can’t seem to bring the two together, don’t fret. You can just launch the game from any folder on your computer and it will launch through Steam.

I’m so confused with the whole DRM thing. I had a friend who had a problem with it and Steam, the catch he was using Windows 7 Home and the only problem that he had is that he couldn’t launch CS:GO. The game was proceeding to launch normally then it would crash.
He made a fresh install of his OS and boom. Everything was working normally again. So, I surely as hell have no idea what is going on with the whole DRM thing. On the other hand, I’ve been using Steam on the Creators Update with over 20 games and I never had an issue. If you except that Gta iv would crash every now and then but I feel like that’s the game’s problem since it was terribly optimized.