How To Create A Split Zipped Archive From Mac OS X Terminal
OS X comes with the aptly named Archive Utility that can be used to extract contents of compressed zip files, or create zipped archives of your own from your files and folders via the options provided in the right-click context menu. With no UI to speak of, the app works in the background and is fairly basic. What the default utility can’t do is create an archive of a folder that’s split into smaller zip files that can later be extracted as a whole into a single folder. There are several third-party apps available that allow you to do this but if you just want to quickly do it without using a third-party app, and don’t mind typing in a command for the purpose, you can easily do so from Terminal. In what follows, we are going to show you how to use a Terminal command to easily create split zip archives of the contents of any folder.
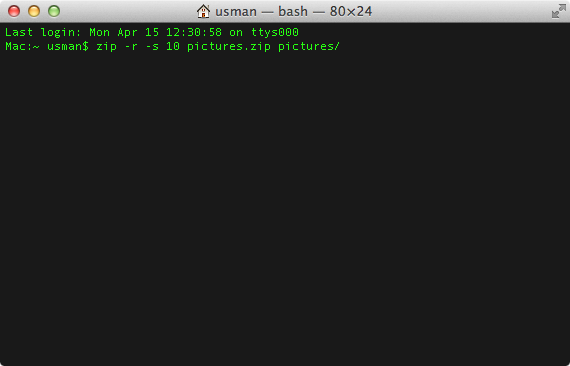
You need only run a simple command to create the split archive, but it’s important that you understand its syntax in order to customize it for your needs. The command is as follows:
zip -r -s MaximumSize ArchiveName.zip FolderName/
As the name suggests, the MaximumSize part is the maximum possible size each split file should be. It is specified as a number and is in MB by default. If you want to change the file size but keep it in MB, simply change the number. If you would like the file size to be measured in other units, follow the number with k for KB, g for GB, and t for TB. ArchiveName.zip is the name that the primary zip file of the archive will be saved as, and FolderName/ is the folder containing everything you want to pack in this archive.
An example would be:
zip -r -s 3g archive.zip FolderName/
The above example will compress everything in FolderName/ into multiple split archives of 3GB maximum each, with the name of the main archive file being archive.zip.

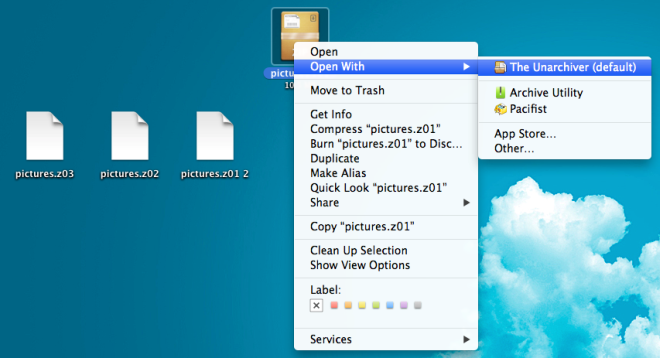
You should not drag & drop the folder you want to archive on to the Terminal because it adds the folder’s entire path to the archive. This means that if you’ve decided to archive User/YourUserName/Desktop/pictures, the archive that’s created will be extracted in to a folder called User and it will follow the directory structure that was in the folder’s original path. To avoid this, type the name of the folder yourself, or delete the path after you’ve dragged & dropped the folder to Terminal. Unarchiving will be slightly tricky, since the Archive Utility will not be able to extract the zipped file. You can easily turn to free apps like The Unarchiver, which is very famous for the OS X platform. Make sure you do not extract the contents of the archive to the same location as the original folder.

There aer numerous apps available that allow you to create split archives, so if you think using this Terminal command is difficult, you can use iPackr instead.

It works, but all the zip files go on my Username folder, how to make them to go on a specified external dive’s folder ?
had to cd to get it to work. which it does greatly. thx!
great done.
Guys I need a software like Unarchiver but with windows compatibility, do you know any?
Do you mean a zip software for Windows?
In that case maybe 7zip is something you want to consider.