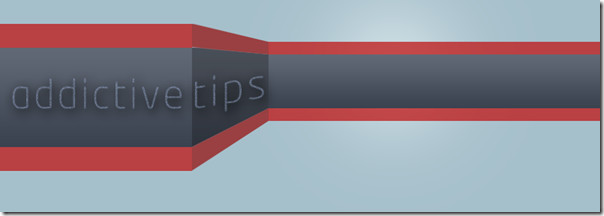
How To Create A 3D Stripe Effect In Photoshop [Tutorial]
Adding 3D to your design can create extra elegance to the overall look. This basic technique is some of the great tips found in Photoshop and becomes very beneficial for beginners when designing websites and banners. We are going to use some basic tools like layer blending options and transform tool.
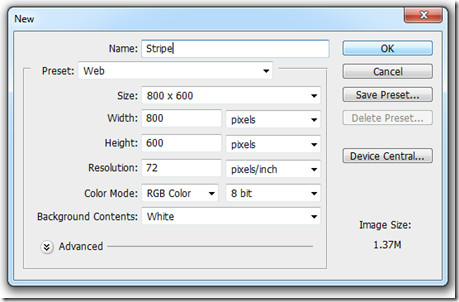
To begin, first create a new document sized 800 X 600.
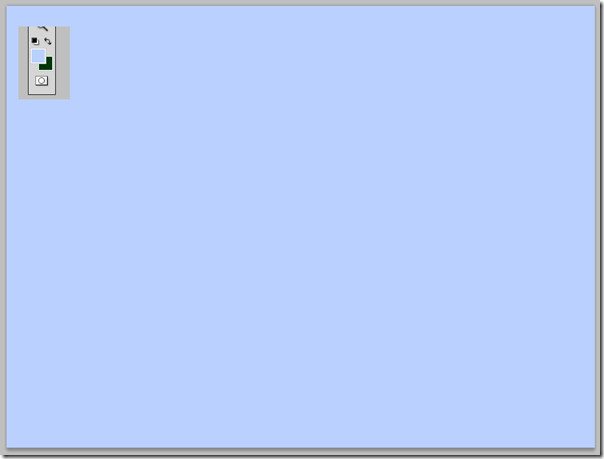
Fill the background with a light color. We have used light blue in this scenario.
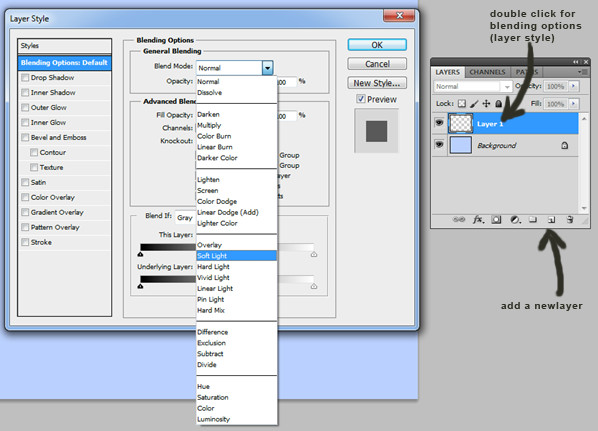
Now create a new layer (Shift + Ctrl + N), double click it and set the blending mode to soft light, simply by going on the blending options.
Next, grab a big soft white brush using the brush tool and do a single click as show below.
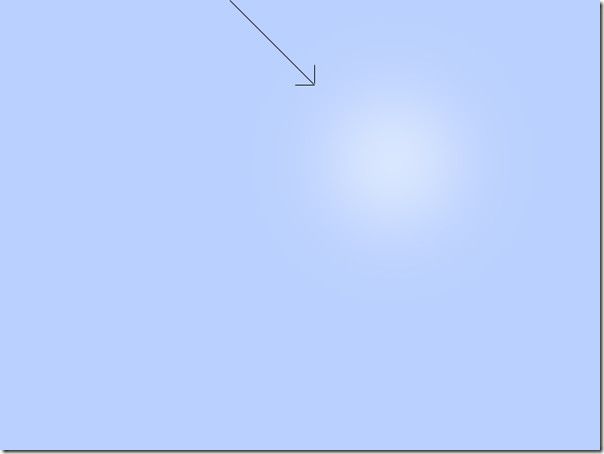
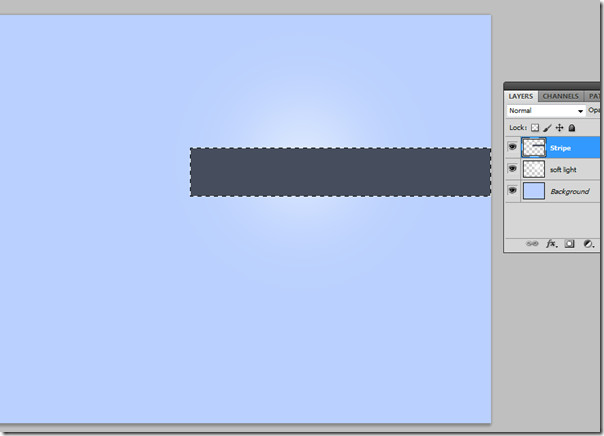
Now create a new layer and name it stripe, fill it with dark gray color (#707793)
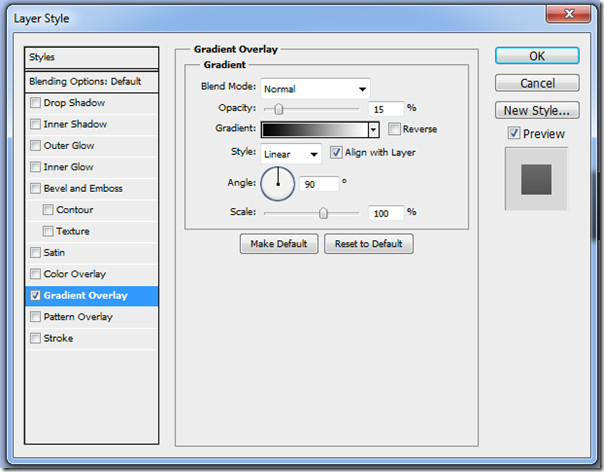
Open the blending options of the new layer Stripe and add a gradient overlay to it. All you have to do is put down the opacity to 15%.
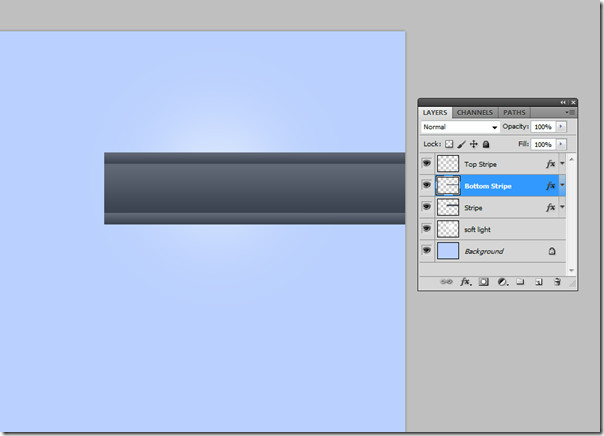
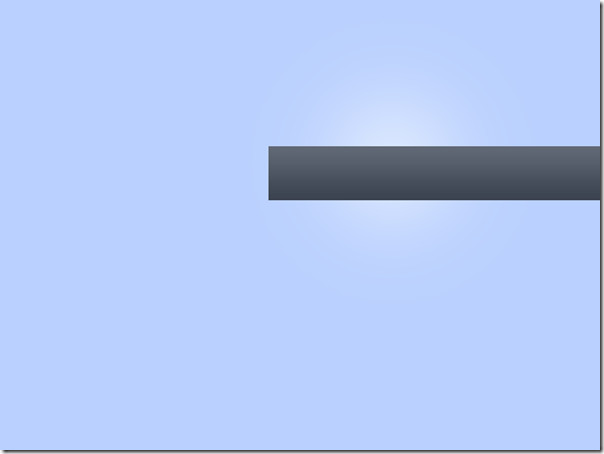
Your output should look like this.
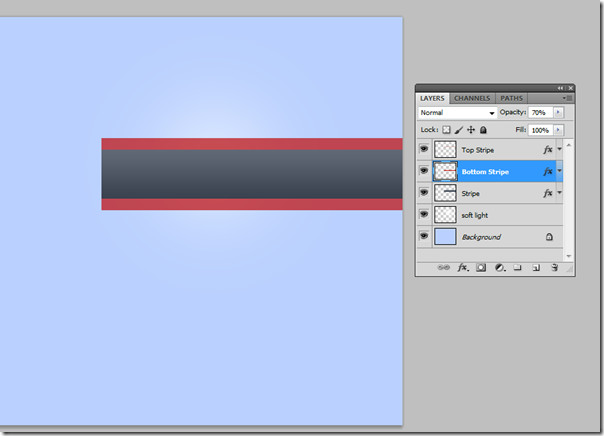
Duplicate the Stripe layer twice. Name one bottom stripe and the other one top stripe. Put them accordingly on the top and bottom of your already created stripe and reduce the size using the transform tool or by simply selecting the layer and pressing Ctrl + T.
Color your top and bottom stripes to red. and remove all the added effect (gradient overlay) from them by clicking the arrow at the right and click the eye before your effects. It will remove all the blending effects from the selected layer. You can also remove them by going into the blending options and uncheck the gradient overlay.
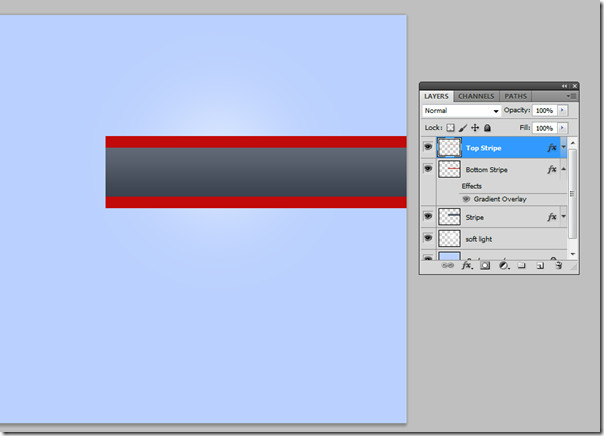
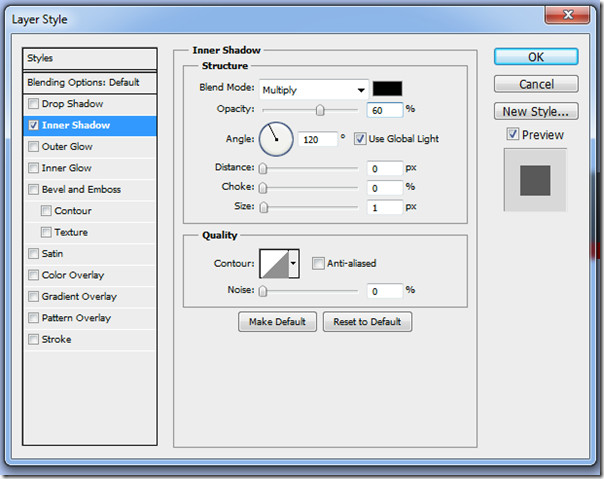
Now we will apply some blending effects to these top and bottom stripes. Open the blending options and check inner shadow, put opacity to 60, distance 0, choke 0 and size to 1.
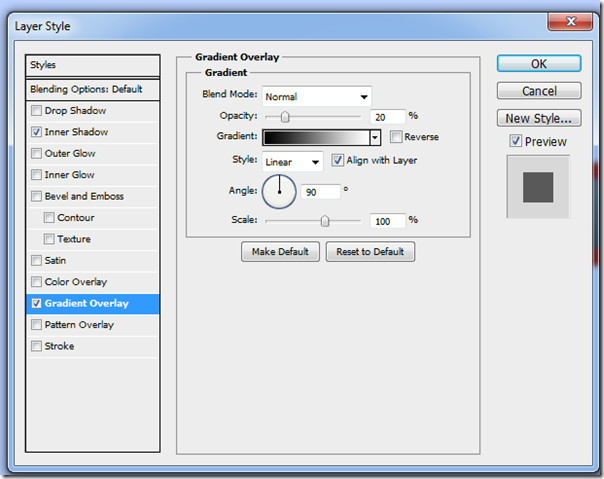
Check Gradient Overlay, put opacity to 20 and scale to 100 percent.
Lastly, reduce the opacity of both layers to 70% from the layers panel.
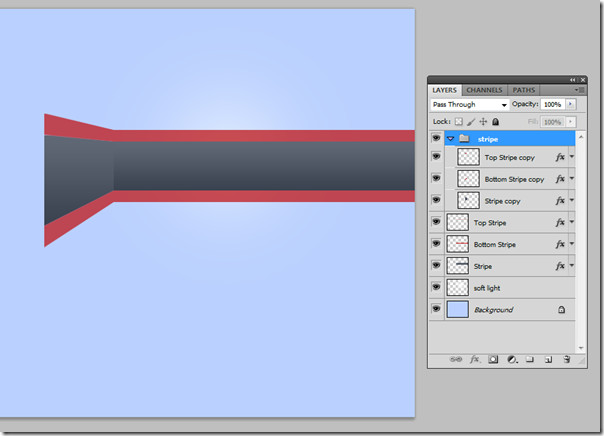
Create a new group and name it stripe. duplicate all the stripes layer (top, bottom and middle) and place it in that group. Press Ctrl + T to resize it. Having the layers on the transform tool, keep on pressing Ctrl and you will notice that now you can freely move the edges of the whole group and give them a 3D shape.
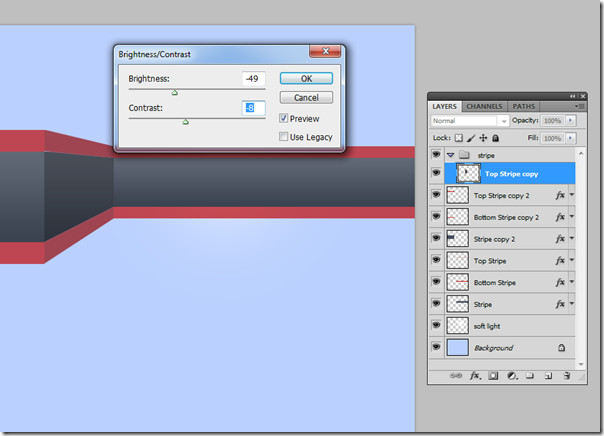
To give your newly created stripe group a better 3D effect, use the brightness/contrast options. Go image –> adjustments –> brightness/contrast and do the following adjustments to it. Now you have given it a better light source, creating a uniform 3D look.
Finally, your workspace should look like this.
One can further enhance it using text tool and blending options.
![14[4] 14[4]](https://www.addictivetips.com/app/uploads/2010/09/144_thumb.jpg)
