How To Engrave Text Into An Image In Photoshop [Tutorial]
Engraving text/object into an image is both appealing and quite simple to do. In this Photoshop Tutorial we will demonstrate how to achieve this effect by following some simple steps. For engraving, there are two basic requirements – the image or texture and the text or object you want to engrave.
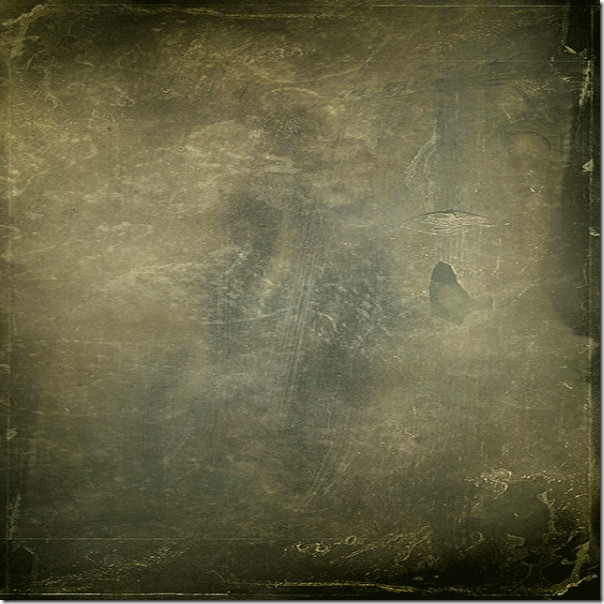
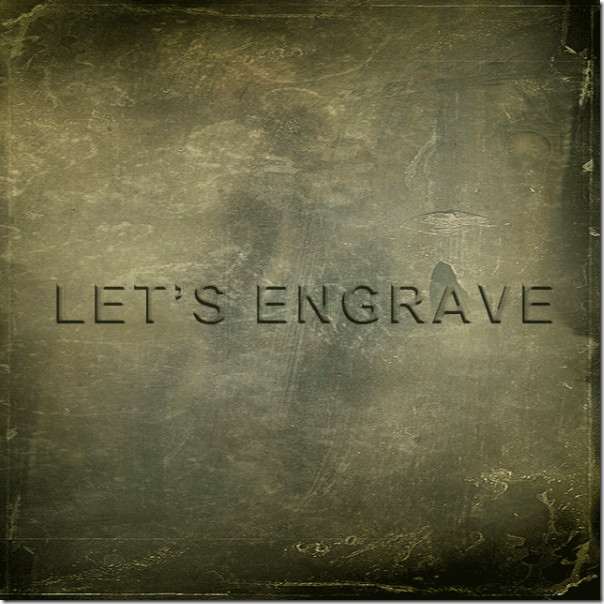
We will start off by our lead texture or image that you want your object to be engraved into. You can right click and save this image for practicing.
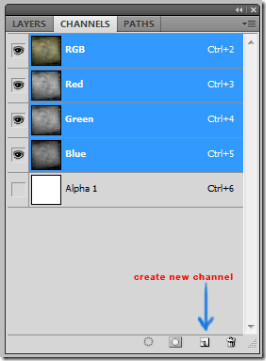
Open the above image in Photoshop and open the channels panel, navigate to Windows –> Channel and create a new channel layer.
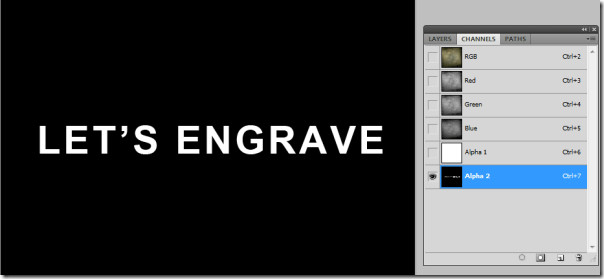
Now after adding a new channel, using the text tool, type in ‘Let’s Engrave’ or any text you would like, on the same channel.
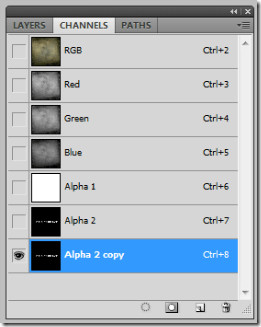
Moving on, duplicate the channel by right-clicking on it and go ‘duplicate channel’. Click the eye next to ‘Alpha 2 copy’ and uncheck the eye before Alpha 2 layer. The eye basically serves the visibility of the channel or layers.
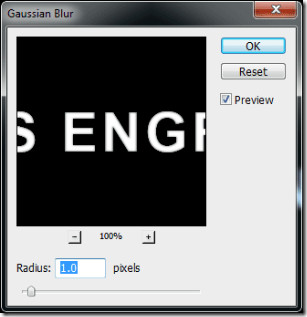
Navigate to Filter –> Blue –> Gaussian Blur (Ctrl + F). Add Blur with radius 1.
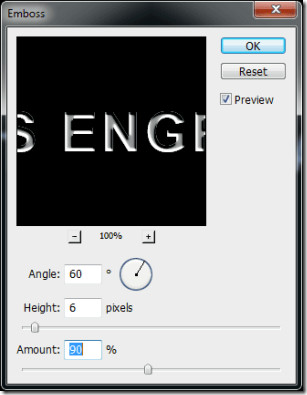
Now navigate to Filter –> Stylize –> Emboss. Angle should be 60 degree, height of 6 pixels and amount of 90%. You can play around with the emboss settings depending on what you are looking for.
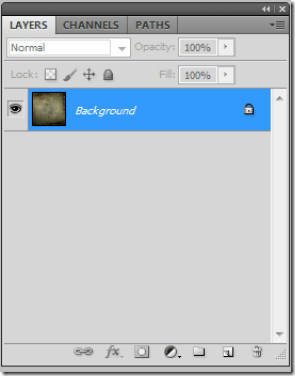
Finally, switch to the layers panel. Navigate to Image –> Apply Image.
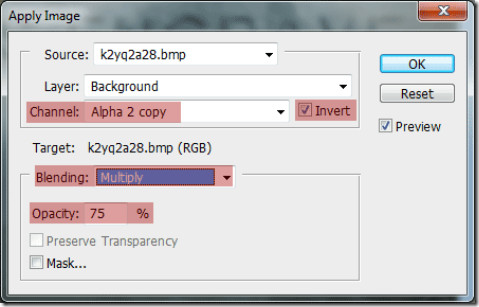
Change Channel to Alpha 2 copy (in which we added the emboss effect), check invert, change the blending mode to multiply, opacity to 75% and check ‘invert’.
We have successfully engraved text into our background texture.
Simple yet addictive! Let us know which other Photoshop tip you would like to see.


The option in the Bevel & Emboss should have been “down” to engrave right ? :/ confused!
You call it engraved? It is some text spreading outward……. not engraved……
This is shit
LOOKS FAKE