How to fix “No Boot Device Found” on Windows 10 (Full Guide)
“`html
Problems with the operating system and computer are bound to happen every now and then, even if you’re extremely careful about the type of activities you carry out on your PC.
Some users try to launch Windows but wind up staring at white text on a black screen instead, which says No boot device found, No bootable device found, No boot device available, or something similar.
It can be scary and you might be left wondering if you can still use your computer or lost access to all your data. There’s nothing to worry about, though, since you can troubleshoot this issue without turning to an expert’s advice.
What causes No boot device found?
No boot device found indicates an issue with your hard drive, which prevents your OS from booting. It can occur on many operating systems and platforms, including Windows 10, Windows 7, and even macOS.
Furthermore, all types of computers are susceptible to the No boot device available error, including HP and DELL.
How to fix No boot device found on Windows 10?
There are multiple ways to repair the inaccessible boot error and allow Windows to start properly again. Some of these solutions can be controlled from BIOS while others require you to run Windows in safe mode.
In the worst case scenario, you have to use an OS recovery media disk, which means losing access to all your files and applications.
1. Check your HDD cables
It might sound trivial when you first hear someone tell you this, but you should start by checking your HDD or SSD to see if it’s properly connected to your PC.
For example, if Windows is installed on an detachable hard disk, it’s a good idea to check the cables and USB ports. It comes in handy if you have another similar cable on standby since you can switch the two and try booting Windows 10.
Moreover, you should try connecting your external disk to another USB port in case the initial port is not working correctly anymore.
On the other hand, if you recently cleaned your hardware components, make sure that you have successfully reattached your HDD to the motherboard. You could also replug it firmly but carefully, without applying force.
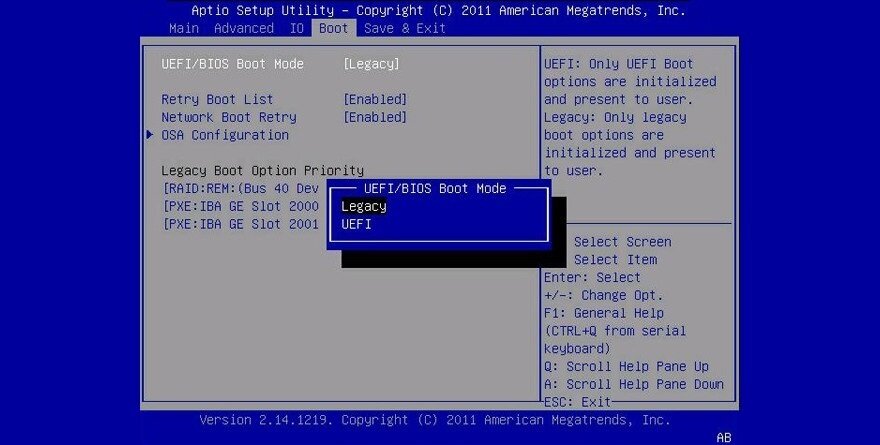
2. Enable Legacy BIOS Boot
Windows usually gets installed in UEFI mode because there are more security features available. However, some users have reported that switching to legacy boot mode fixed the No boot device available error.
- Reboot your computer
- Press the key shown on the screen to enter BIOS
- Switch to the Boot section
- Select UEFI/BIOS Boot Mode and press Enter

- Enable Legacy BIOS Boot Mode by using the up and down arrows, then press Enter
- Save the current BIOS configuration and exit
3. Run ePSA Diagnostic on DELL
DELL computers have a special diagnostics tool that can be accessed from BIOS and used to scan your machine for hard drive errors. Here’s how to easily use ePSA Diagnostic:
1. Restart your DELL
2. Press F12 during boot to enter BIOS mode
3. Locate and access the Diagnostics section
4. Follow the on-screen instructions to diagnose your PC for errors
5. Copy any error and validation codes displayed during the scan
You can use the error and validation codes to look up more information online about the specific problem you’re having that causes the No boot device error.
Or, you can contact tech support from DELL and supply them with the error codes.
4. Restart Windows in safe mode
To do more on your computer, you need to load Windows even if the No boot device available error code blocks your path. It’s possible by starting Windows in Safe Mode.
How to start Windows in Safe Mode from boot:
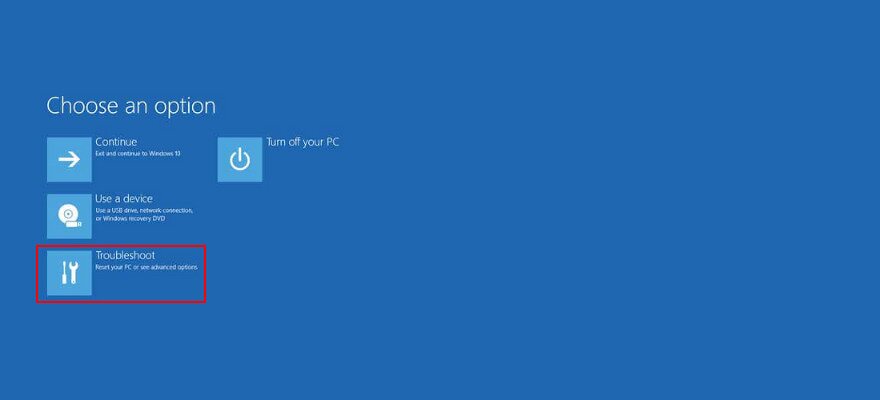
- After the third boot attempt, you will enter Windows troubleshooting setup
- Select Troubleshoot

- Go to Advanced options

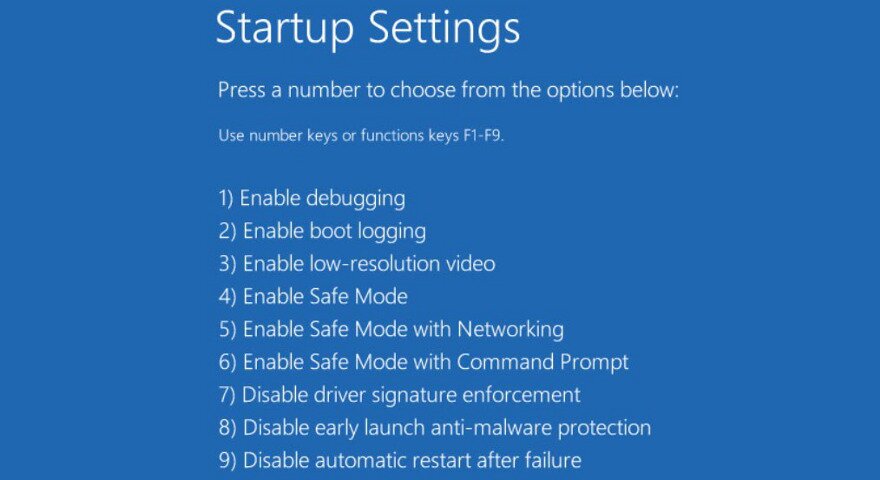
- Select Startup Settings

- Click Restart and press F4 to enable safe mode

5. Check your drivers
The No boot device found error message could be caused by a missing or improperly installed driver. There are two solutions for this scenario: reinstalling drivers and updating them to the latest version. We’ll show you how to do both.
Make sure to start Windows 10 in Safe Mode before following these steps.
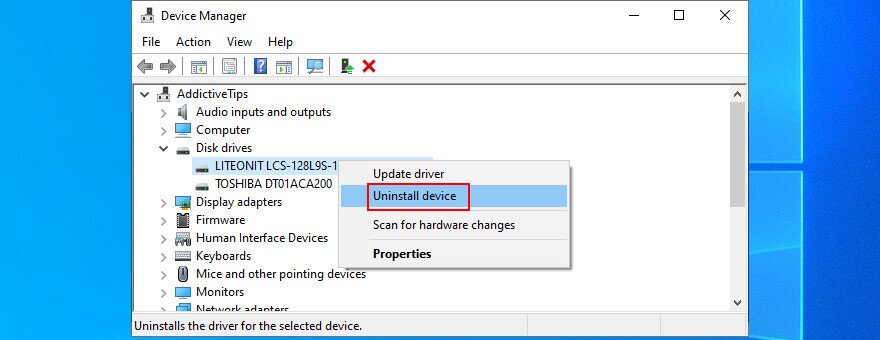
How to reinstall drivers:
- Press Win key + R, type devmgmt.msc, and press Enter

- Open the Disk drives menu
- Select your hard disk, right-click it, and select Uninstall device

- Follow the on-screen instructions
- Reboot your computer

If you’re having a hard time trying to identify a faulty driver, you should use DriverVerifier. It’s a simple and effective tool that reveals malfunctioning devices on your PC, letting you know which require your attention. Similar driver-related issues like faulty driver power state can also prevent your system from booting correctly, so it may help to work through a BSOD repair checklist for broader troubleshooting.
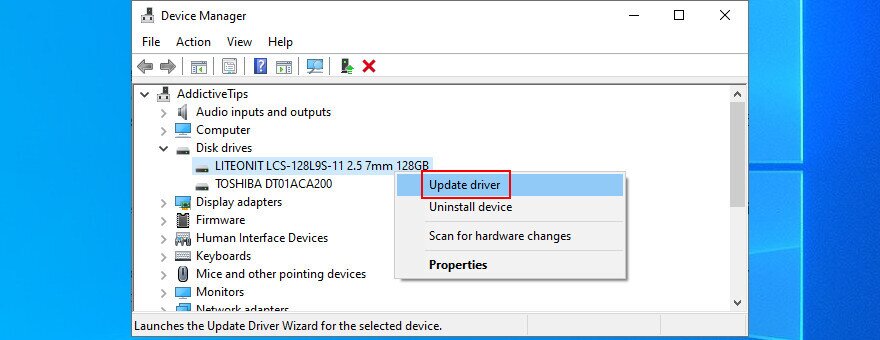
How to update Windows 10 drivers
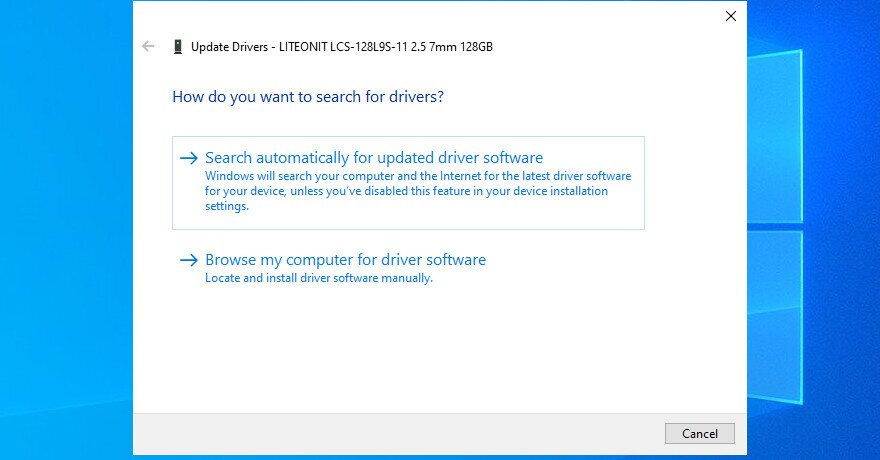
- Access Device Manager, right-click your disk drive, and select Update driver

- Click Search automatically for updated driver software

- If you get the The best drivers for your device are already installed message, click Search for updated drivers on Windows Update

- Restart your computer
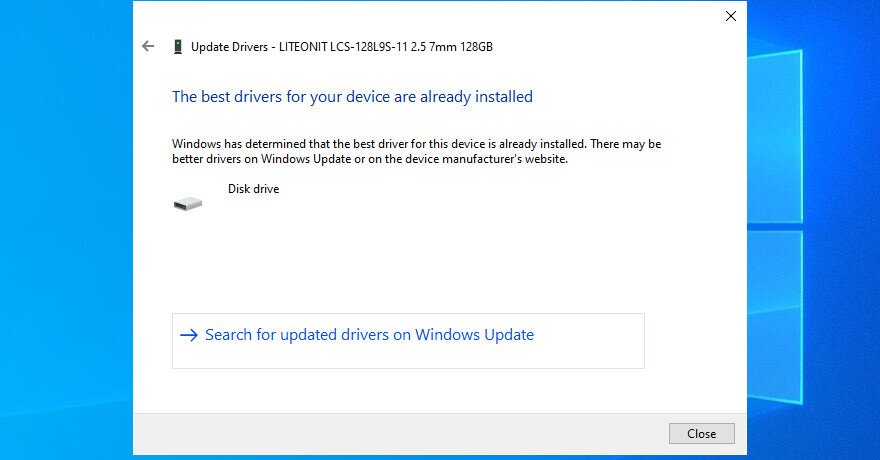
The operating system might not be able to locate a newer driver version using Windows Update. In that case, you should visit the manufacturer website of your disk driver to download and install a newer version.
However, if you don’t want to risk causing more issues to your PC by installing an incompatible driver, then you should turn to a driver update application. It identifies and updates all your outdated drivers with just a few clicks.
6. Use System Restore
If the No boot device found was caused by an event that recently happened at the software level but you can’t quite put your finger on it, then rolling back Windows to a previous restore point should solve it.
However, keep in mind that it could mean losing some applications or games that you have installed after creating the restore point.
How to roll back Windows 10:
- Start Windows 10 in Safe Mode
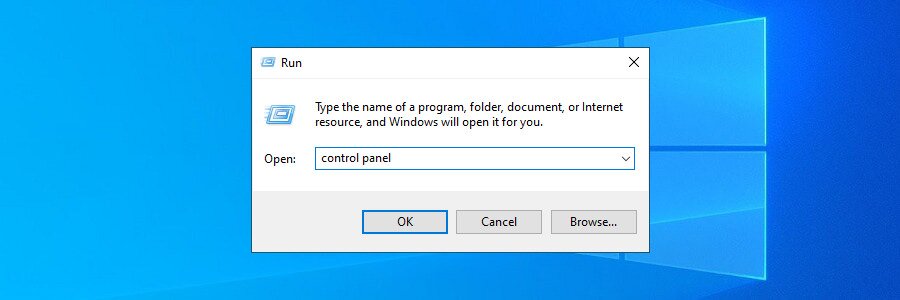
- Press Win key + R, type control panel, and hit Enter

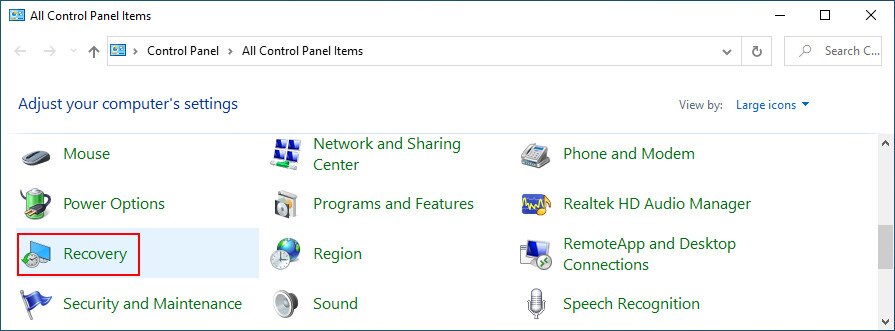
- Click Recovery

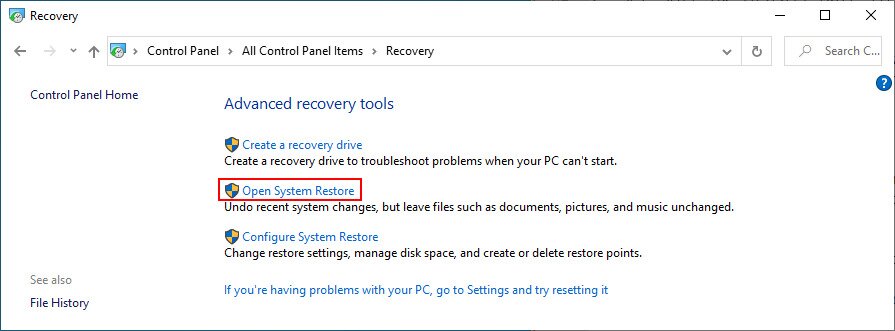
- Click Open System Restore

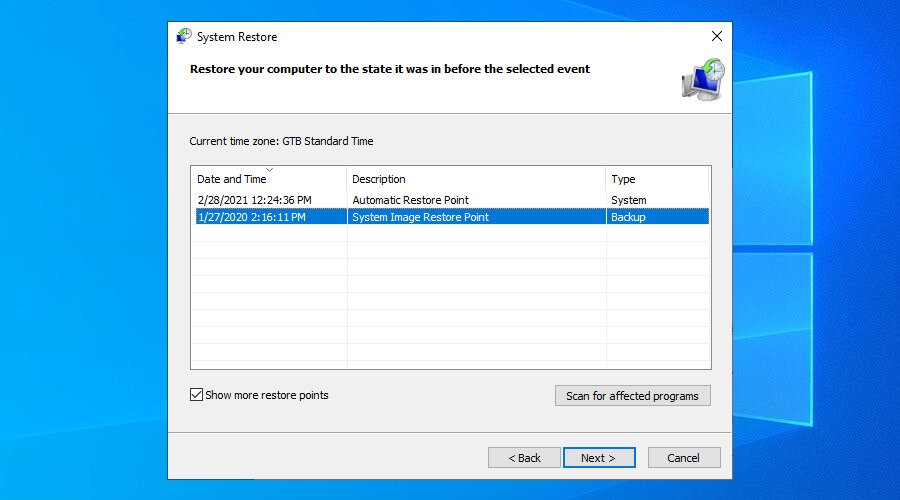
- Select a restore point from the list. To see which apps will be affected, click Scan for affected programs

- Proceed with the on-screen instructions
- Restart your computer
7. Repair disk and system errors
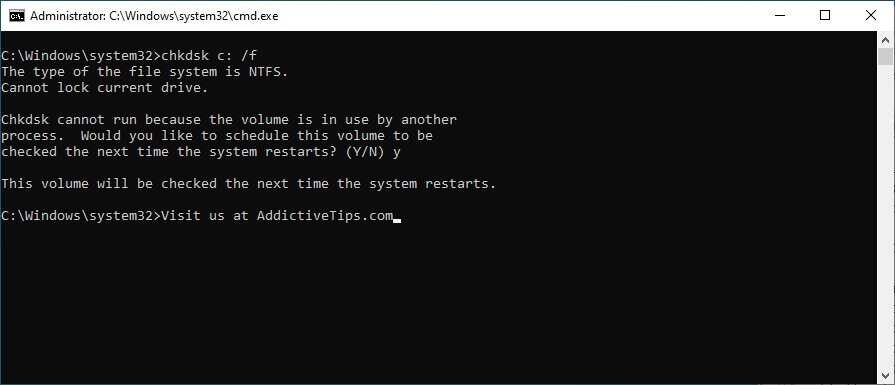
If your hard drive has bad sectors, this can lead to boot issues and the No boot device found error messages. But you can quickly fix it without having to install third-party tools, thanks to CHKDSK (Check Disk).
How to use CHKDSK:
- Press Win key + R, type cmd, and press Ctrl + Shift + Enter to run CMD as admin

- Run
chkdsk c: /fif Windows is installed on the C: drive. Otherwise, set the correct partition letter
- Type y when you’re asked to schedule the task at the next system boot and press Enter
- Reboot your PC

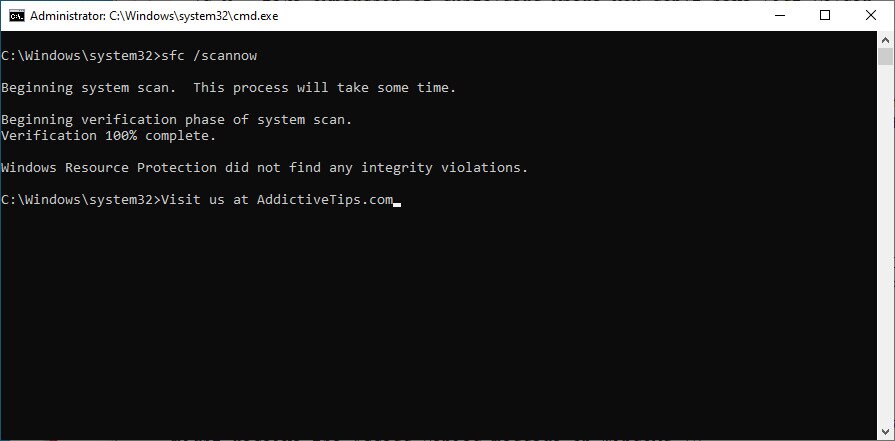
When it comes to system errors, you can turn to SFC (System File Checker).
How to use SFC:
- Run Command Prompt as admin
- Type
sfc /scannowand press Enter
- Wait until SFC completes its task
- Restart your computer
More severe system issues can be resolved using DISM (Deployment Image Servicing and Management).
How to use DISM:
- Run CMD with elevation rights
- Type
DISM /online /cleanup-image /scanhealthand press Enter - If DISM finds any problems, you can fix them using
DISM /online /cleanup-image /restorehealth - Reboot your PC and run CMD as admin
- Run
sfc /scannow - Restart your computer
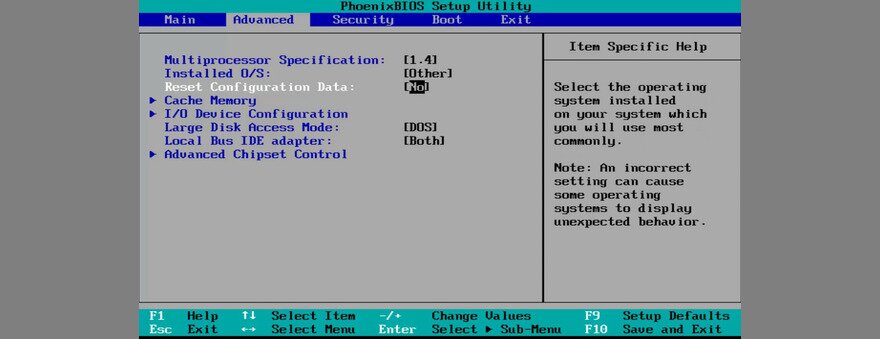
8. Reset BIOS to factory settings
BIOS has a lot of cool options that can be enabled to get more out of your computer, such as overclocking and caching. If you or someone else has customized settings in BIOS mode, perhaps this caused hardware failure that led to the No boot device found error message.
You can easily fix this by restoring BIOS to default:
- Reboot your PC
- Quickly press the key displayed on the bottom of the screen to access BIOS
- Select the area with advanced settings

- Enable the option to reset configuration data
- Save the current BIOS configuration and exit
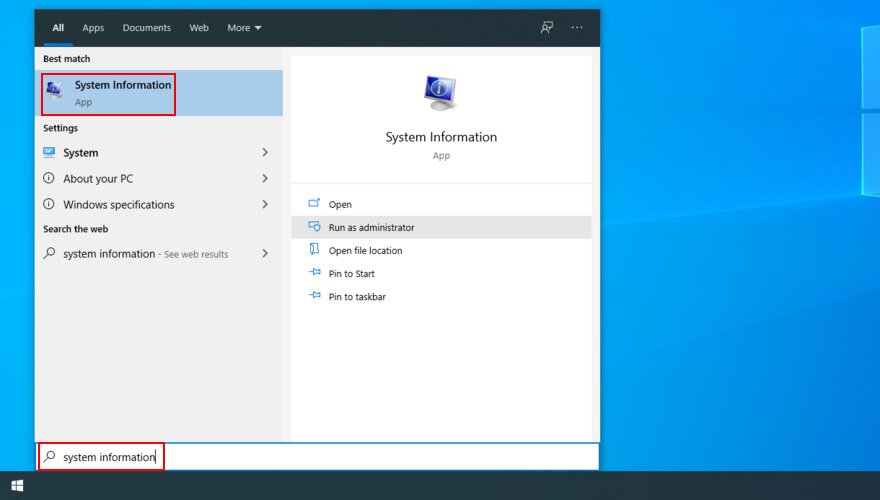
9. Update BIOS
While we’re on the topic of BIOS, it’s a good idea to keep it updated to the latest version.
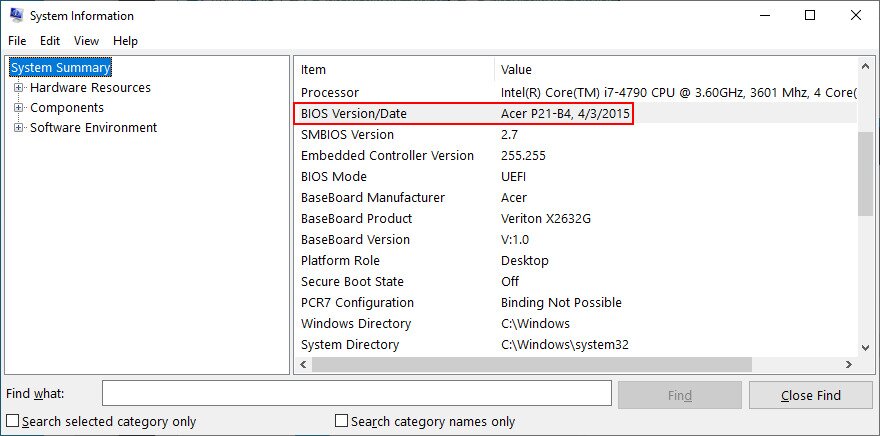
- Press the Win key, type System Information, and open this app

- Select the System Summary section and take note of the BIOS Version/Date

- Visit the website of your BIOS manufacturer and download a newer version
- Unzip the BIOS file to an external storage unit
- Restart your PC and switch to BIOS mode
- Back up your current BIOS version to the portable disk
- Start the BIOS update and follow the on-screen instructions
- Don’t shut down or restart your PC during the update
- Try to launch Windows and bypass the No boot device found error
10. Use the BCD command
Using the BCD (Boot Configuration Data) command can help fix hardware failure and get rid of the No boot device found error message. And you don’t need to install any special software since you can use the command-line environment.
- Restart the computer and interrupt the boot sequence until the PC enters advanced startup mode
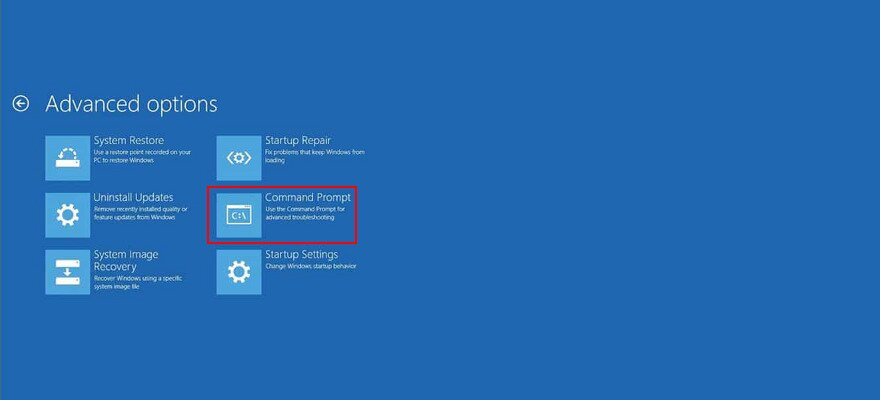
- Select Troubleshoot and head over to Advanced options
- Click Command Prompt. Windows will restart and launch the console

- Choose your account and specify your password
- Type the next two commands and press Enter after each line
-
bcdedit/deletevalue {default} numproc -
bcdedit/deletevalue {default} truncatememory
-
- Restart your computer
11. Fix the BCD
A corrupt BCD is the source of computer problems, including inaccessible boot device, which prevents Windows 10 from starting. But you can fix the broken BCD with the help of a bootable flash drive that has the Windows installation files.
- Restart Windows in advanced startup mode
- Go to Troubleshoot > Advanced Options > Command Prompt
- After Windows restarts in CMD mode, enter the following lines (press Enter after each one):
-
bootrec /repairbcd
-
bootrec /osscan
-
bootrec /repairmbr
-
- Restart your machine
12. Repair system registry
If the Windows registry contains corrupt data, this can result in hardware issues and the No boot device found error message. But you can fix it with a few commands, without having to install anything else or use OS recovery media.
- Enter advanced startup mode for Windows
- Select Troubleshoot > Advanced Options > Command Prompt
- Once the OS shows the Command Prompt, enter the next lines (press Enter after each one):
-
cd c:\Windows\System32\config
-
ren c:\Windows\System32\config\DEFAULT DEFAULT.old
-
ren c:\Windows\System32\config\SAM SAM.old
-
ren c:\Windows\System32\config\SECURITY SECURITY.old
-
ren c:\Windows\System32\config\SOFTWARE SOFTWARE.old
-
ren c:\Windows\System32\config\SYSTEM SYSTEM.old
-
copy c:\Windows\System32\config\RegBack\DEFAULT c:\Windows\System32\config\
-
copy c:\Windows\System32\config\RegBack\DEFAULT c:\Windows\System32\config\
-
copy c:\Windows\System32\config\RegBack\SAM c:\Windows\System32\config\
-
copy c:\Windows\System32\config\RegBack\SECURITY c:\Windows\System32\config\
-
copy c:\Windows\System32\config\RegBack\SYSTEM c:\Windows\System32\config\
-
copy c:\Windows\System32\config\RegBack\SOFTWARE c:\Windows\System32\config\
-
- Restart your PC
13. Use System Image Recovery
Windows 10 allows you to create a full backup of your computer thanks to a simple tool called Windows Backup. Many users turn to it after a fresh OS installation, in order to back up the clean state of their operating system. If you created such a backup, you can restore it using System Image Recovery, in order to undo all software events that may have caused the No boot device available error.
How to use System Image Recovery:
- Reboot your computer
- Interrupt the boot sequence three times to force advanced startup mode
- Select Troubleshoot and go to Advanced Options
- Pick System Image Recovery and follow the on-screen instructions
However, if you try to create a backup on another PC, you won’t be able to restore it on the malfunctioning computer, so don’t waste your time.
A rundown of No boot device found fixes
To summarize, if you can’t start Windows due to the No boot device available error message, you don’t need to panic because there are multiple solutions you can try to fix it.
For instance, you should check your HDD cables, enable Legacy BIOS Boot, run ePSA Diagnostic on DELL, and restart Windows in safe mode.
It’s also a good idea to check your drivers, roll back Windows to a previous checkpoint, repair any disk and system errors, reset BIOS to factory mode, as well as update BIOS to the latest version.
You can also use the BCD command or fix BCD if it’s damaged, and repair corrupt system registry entries. When everything else fails, it’s time to create an OS recovery media disk to resewt Windows 10.
Did these solutions help fix the No boot device found error? What did we miss? Let us know in the comment area below.
“`
